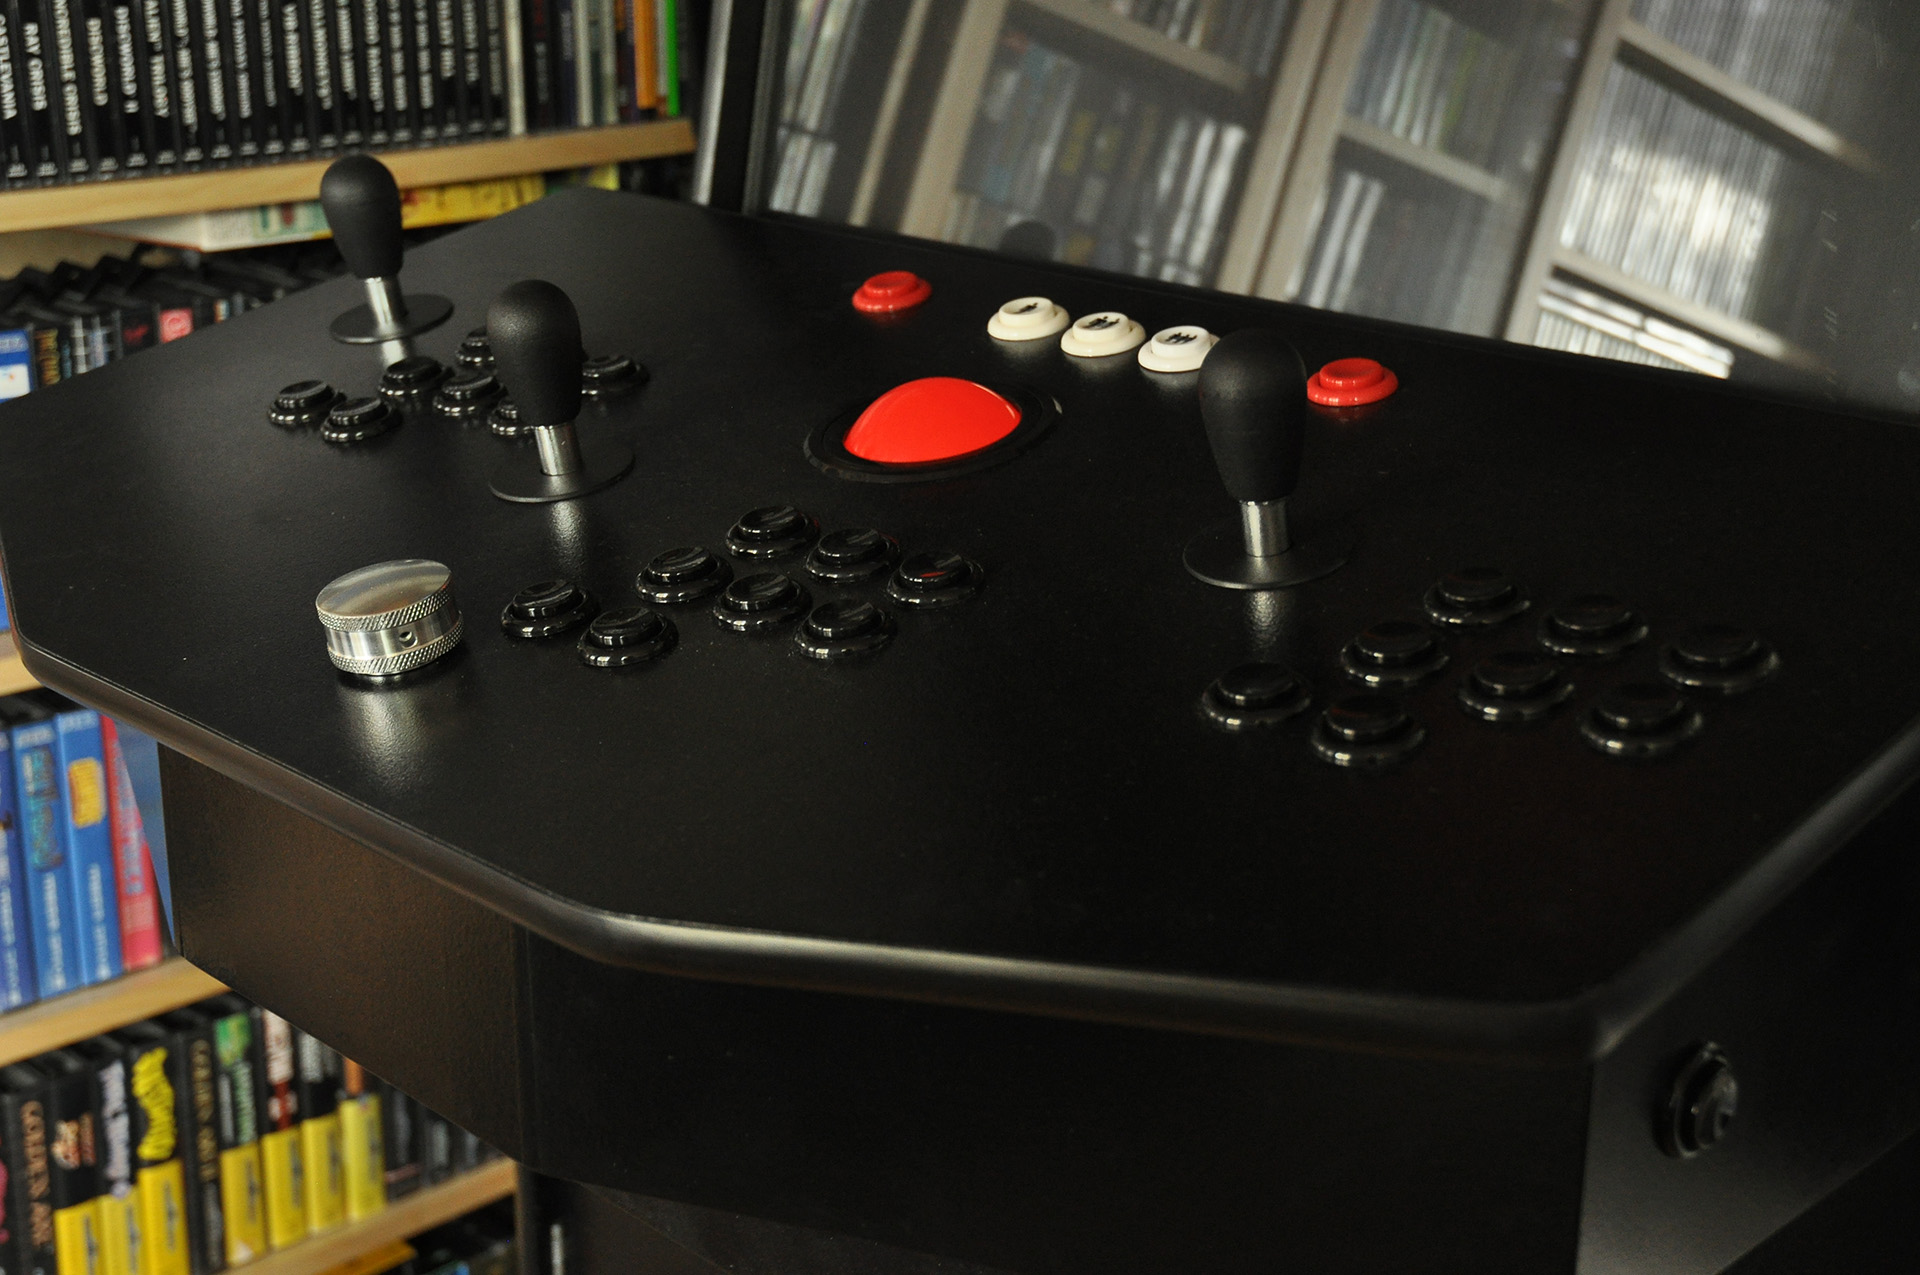
UX and interaction design are not disciplines limited to keyboard, mouse and touch software interfaces; they apply to any type of user interface, and I design other kinds too. Besides remote controls, one of my many hobbies involves designing and building arcade game controls.
This particular panel was built with three sets of controls due to the fact that I wanted to accomodate two-player fun with a friend, but also didn’t want to always be positioned at an odd angle to the screen at either the left or right side when I’m playing by myself (which is usually the case) – hence the third set of controls in the middle.
The middle set of controls also had to accommodate a spinner for paddle-controlled games (situated at the very bottom), a track ball for Missile Command and derivatives (the red, glowing globe in the middle) and flipper buttons at both sides of the panel for pinball games.
A lot of effort and testing went into the ergonomics, since the trackball is a very big component to fit and still had to be situated in such a way that I wouldn’t have to force my arm to hover above the other controls or strain it by having it rest on the control panel at an odd angle when playing trackball controlled games. I also had to be able to rest my arm with enough wiggle room as to not accidentally hit other controls.
The design I ended up with separates the center stick and buttons enough to let me rest my arm between them at an ideal height and angle and with enough space for comfort, while still keeping the total panel width short enough to be able to comfortably operate the two pinball flipper buttons on either side of the panel.
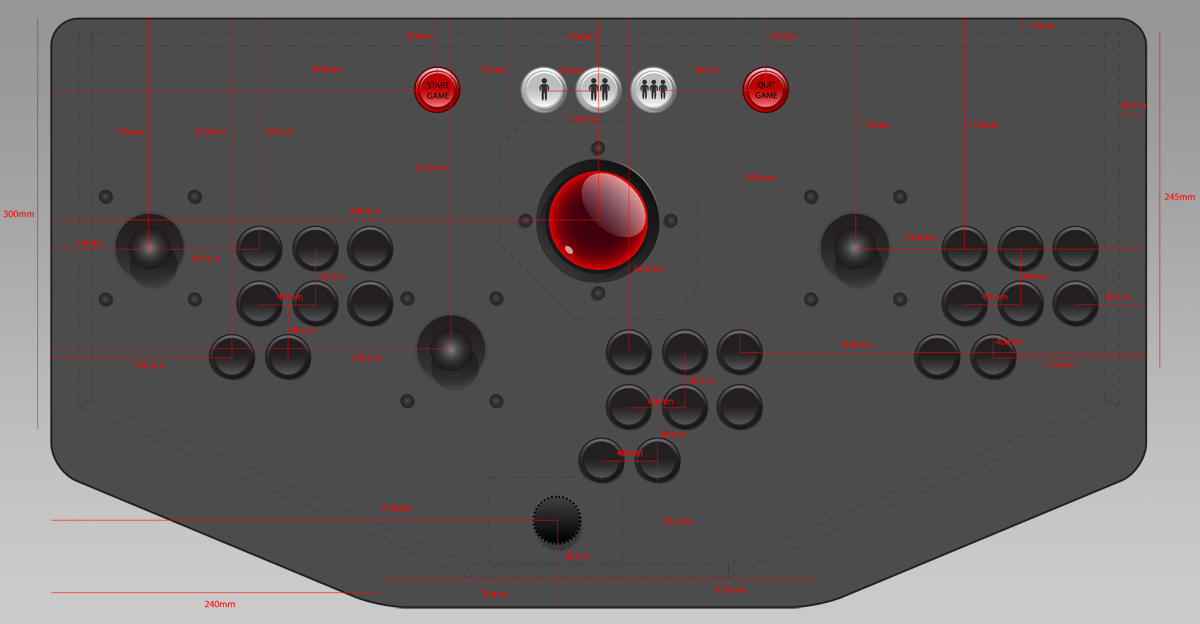 Above: After completing the build plans, I mocked up the design and overlaid the measurements and component mount dimensions to get a feel for the finished control panel.
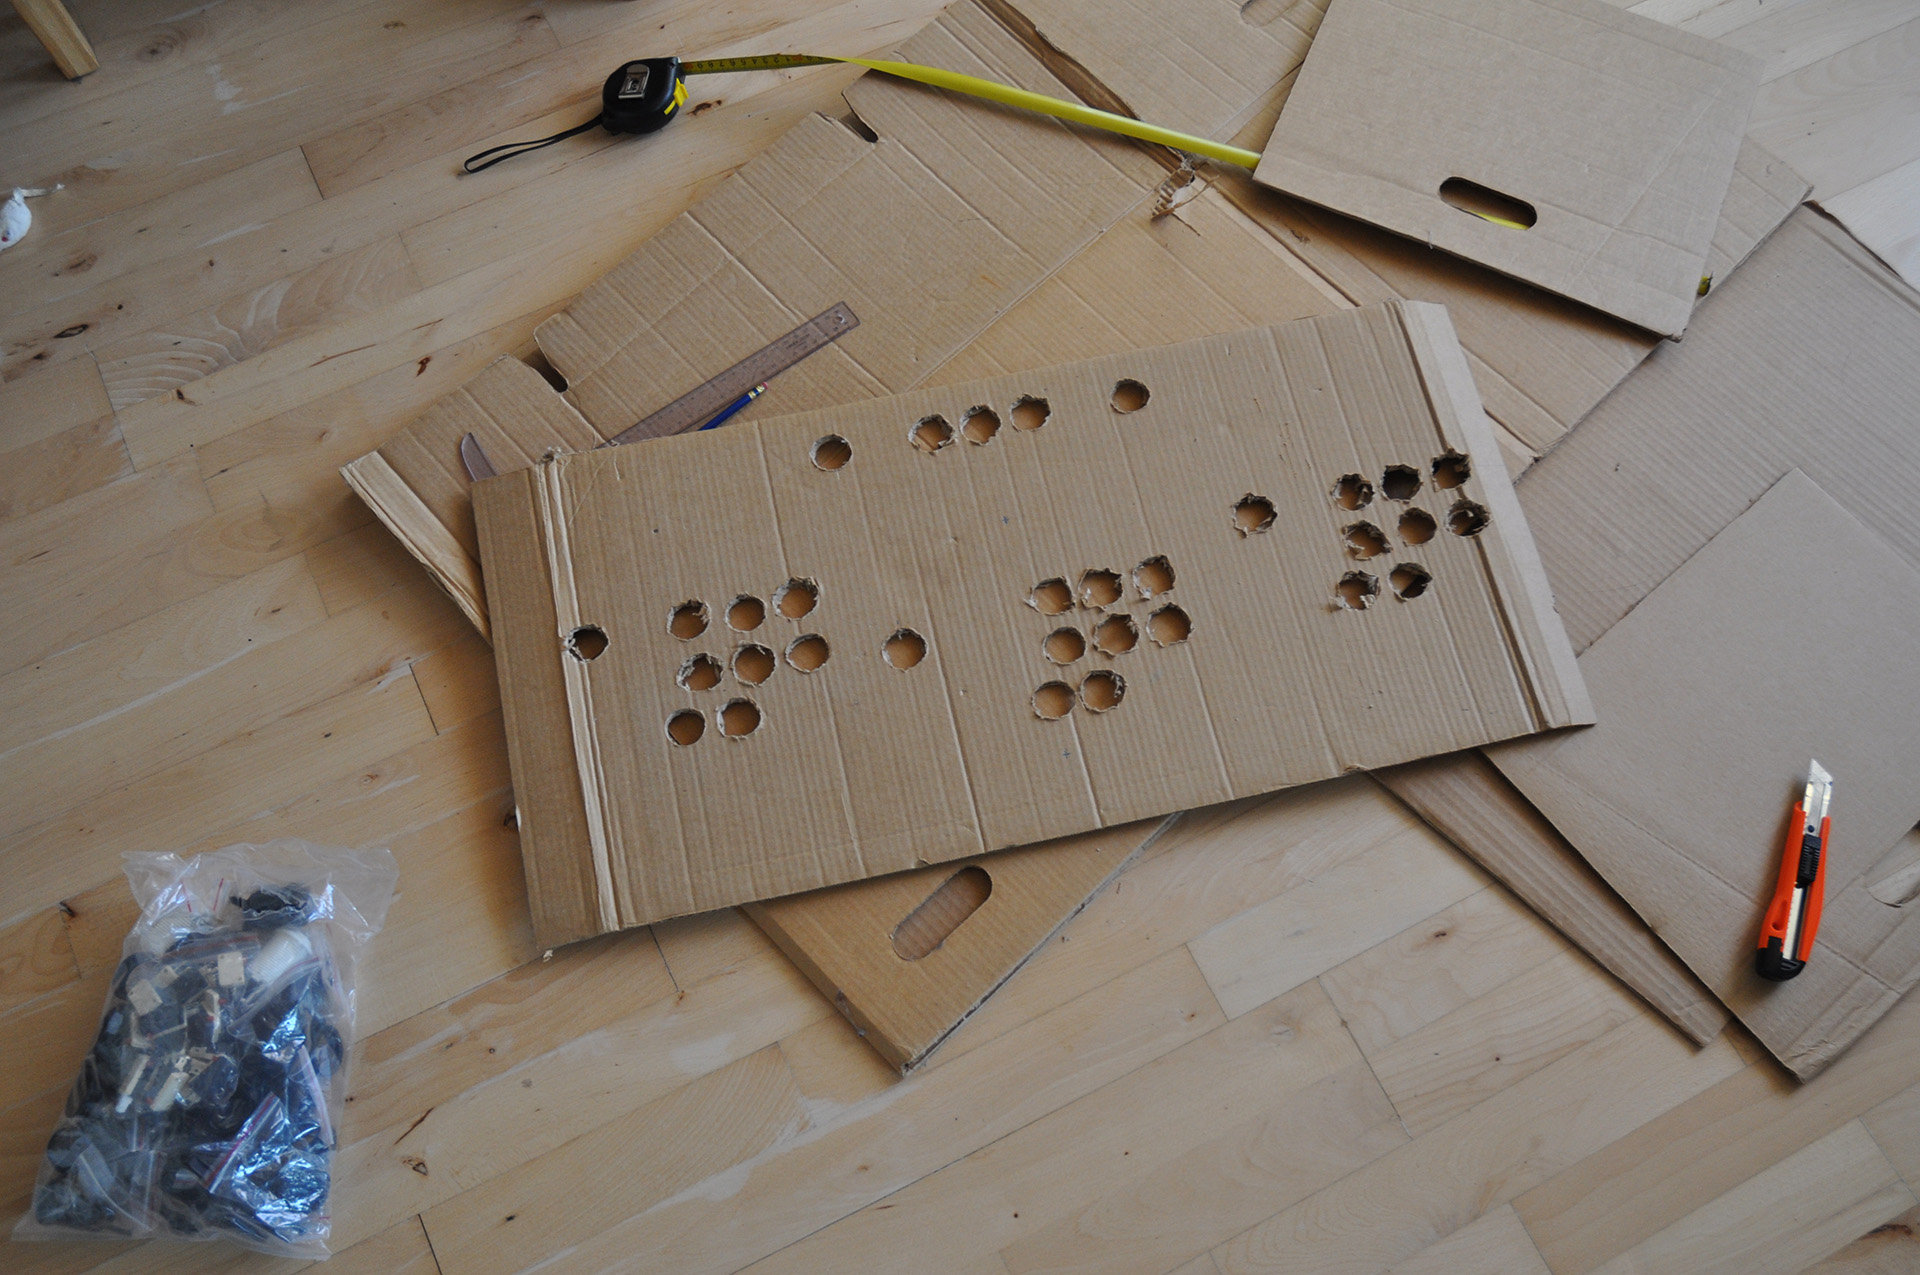 Above: I did lots of cardboard prototyping to make sure I got the ergonomics right before I started cutting the MDF.
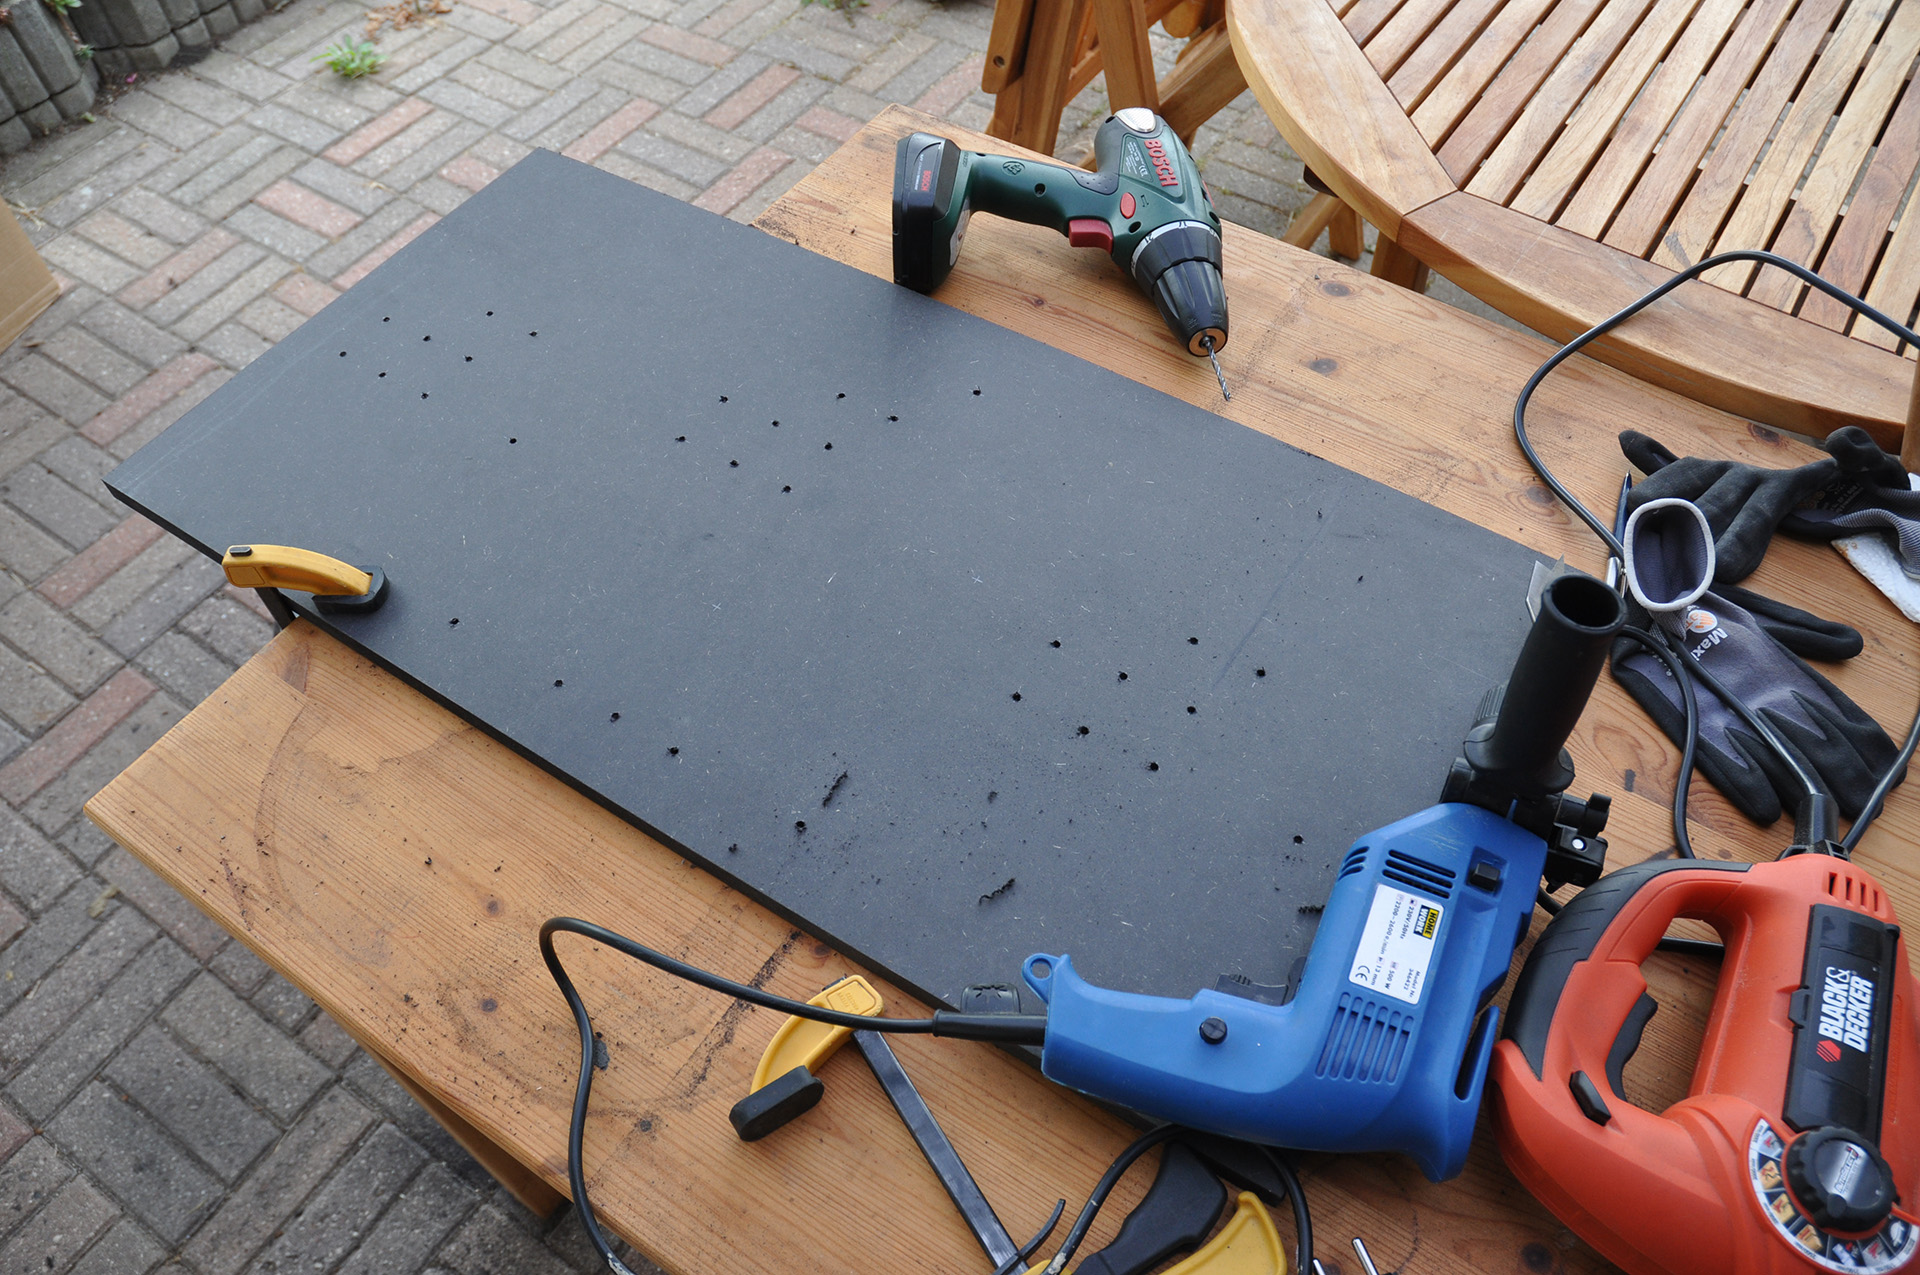 Above: Pre-drilling to make sure everything will align perfectly once I start applying the hole saw for the buttons, trackball and stick holes. I used black MDF to easier spot any bulging from glue or screwholes (this is harder to identify with brighter materials) as well as keeping down the coats of paint I had to apply.
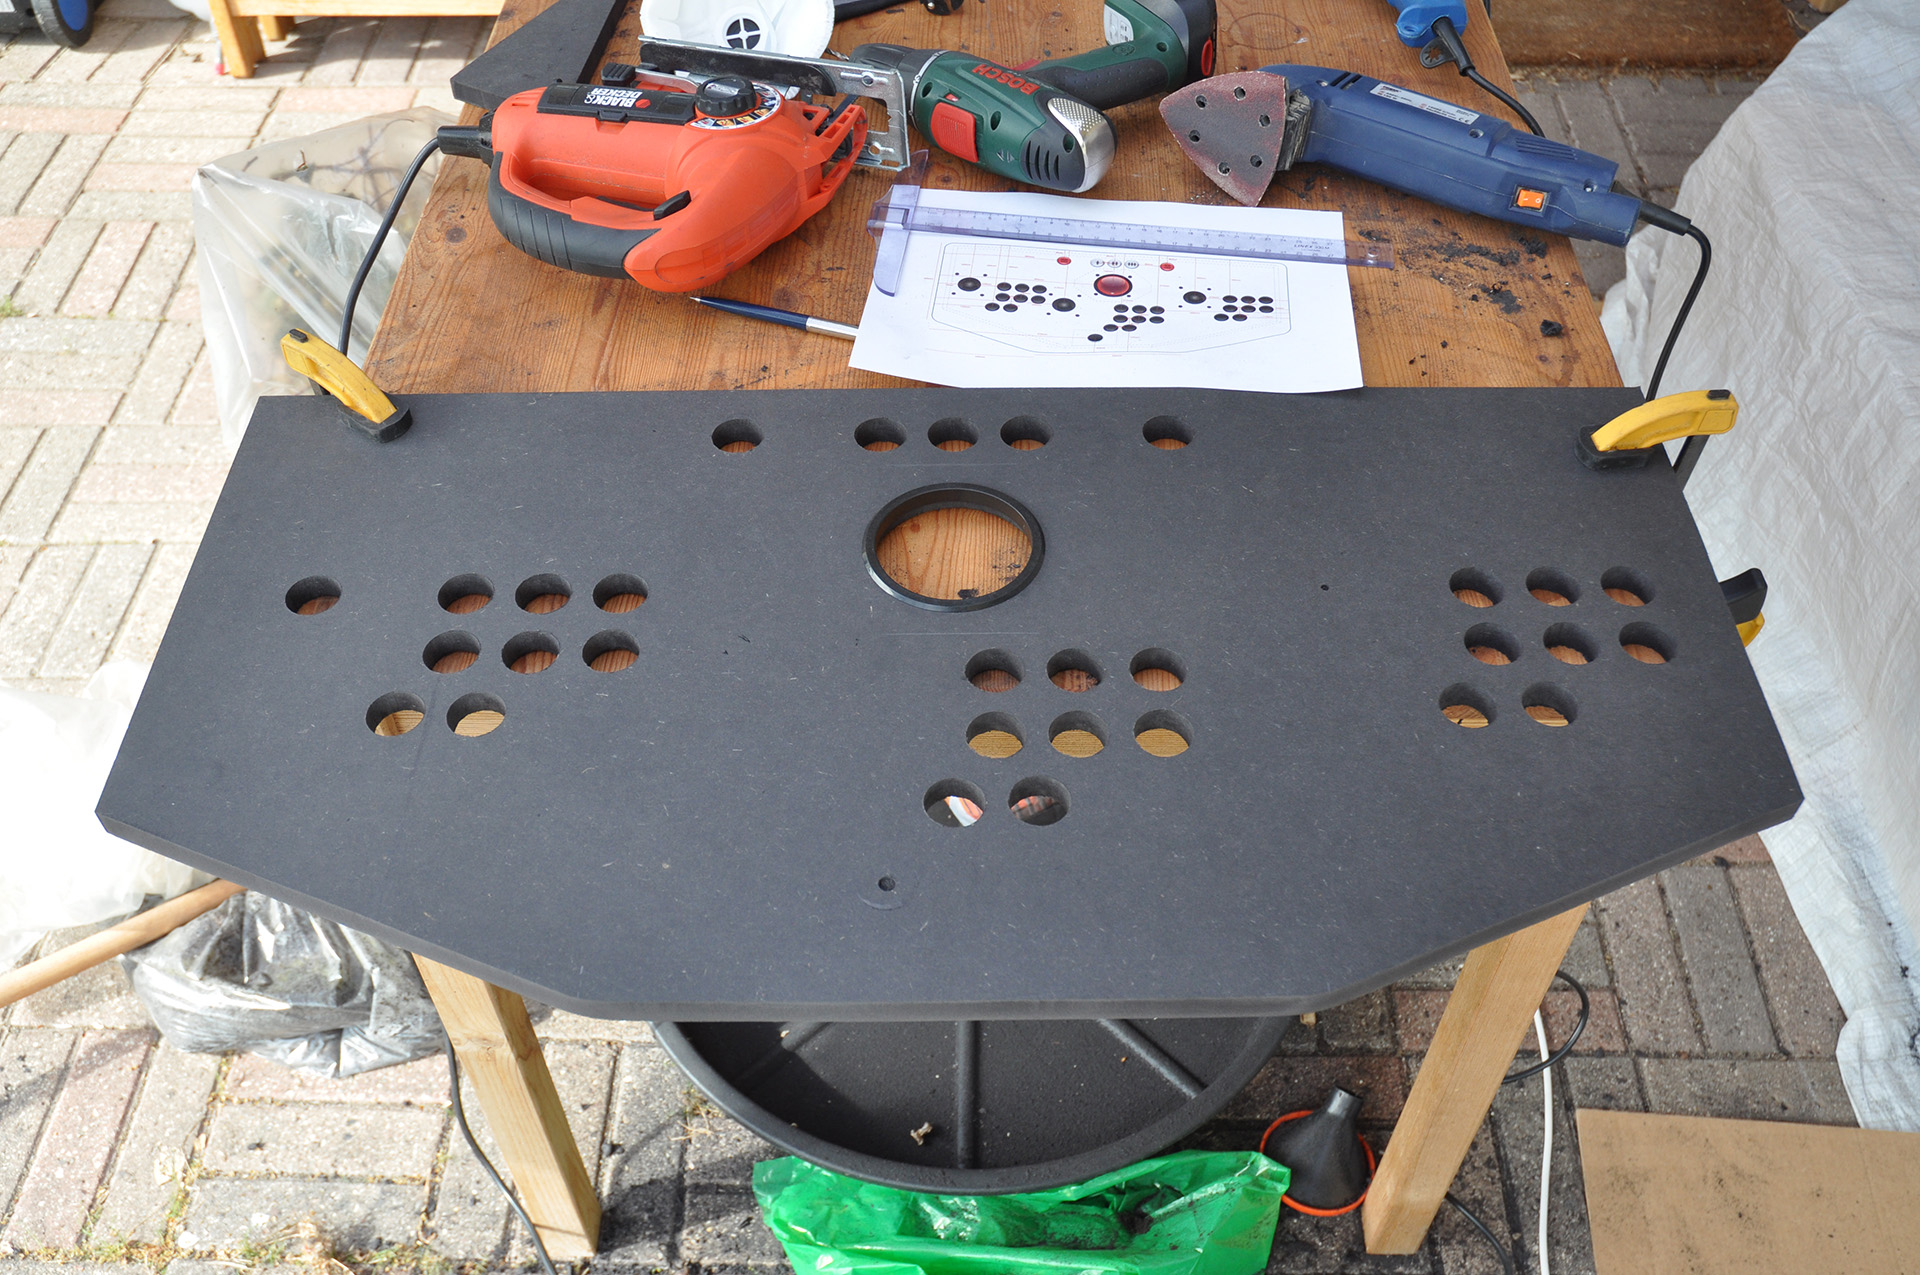 Above: Hole-sawing completed, sides cut and sanding in progress. I’ve inserted the track ball cover ring to make sure it fits snugly.
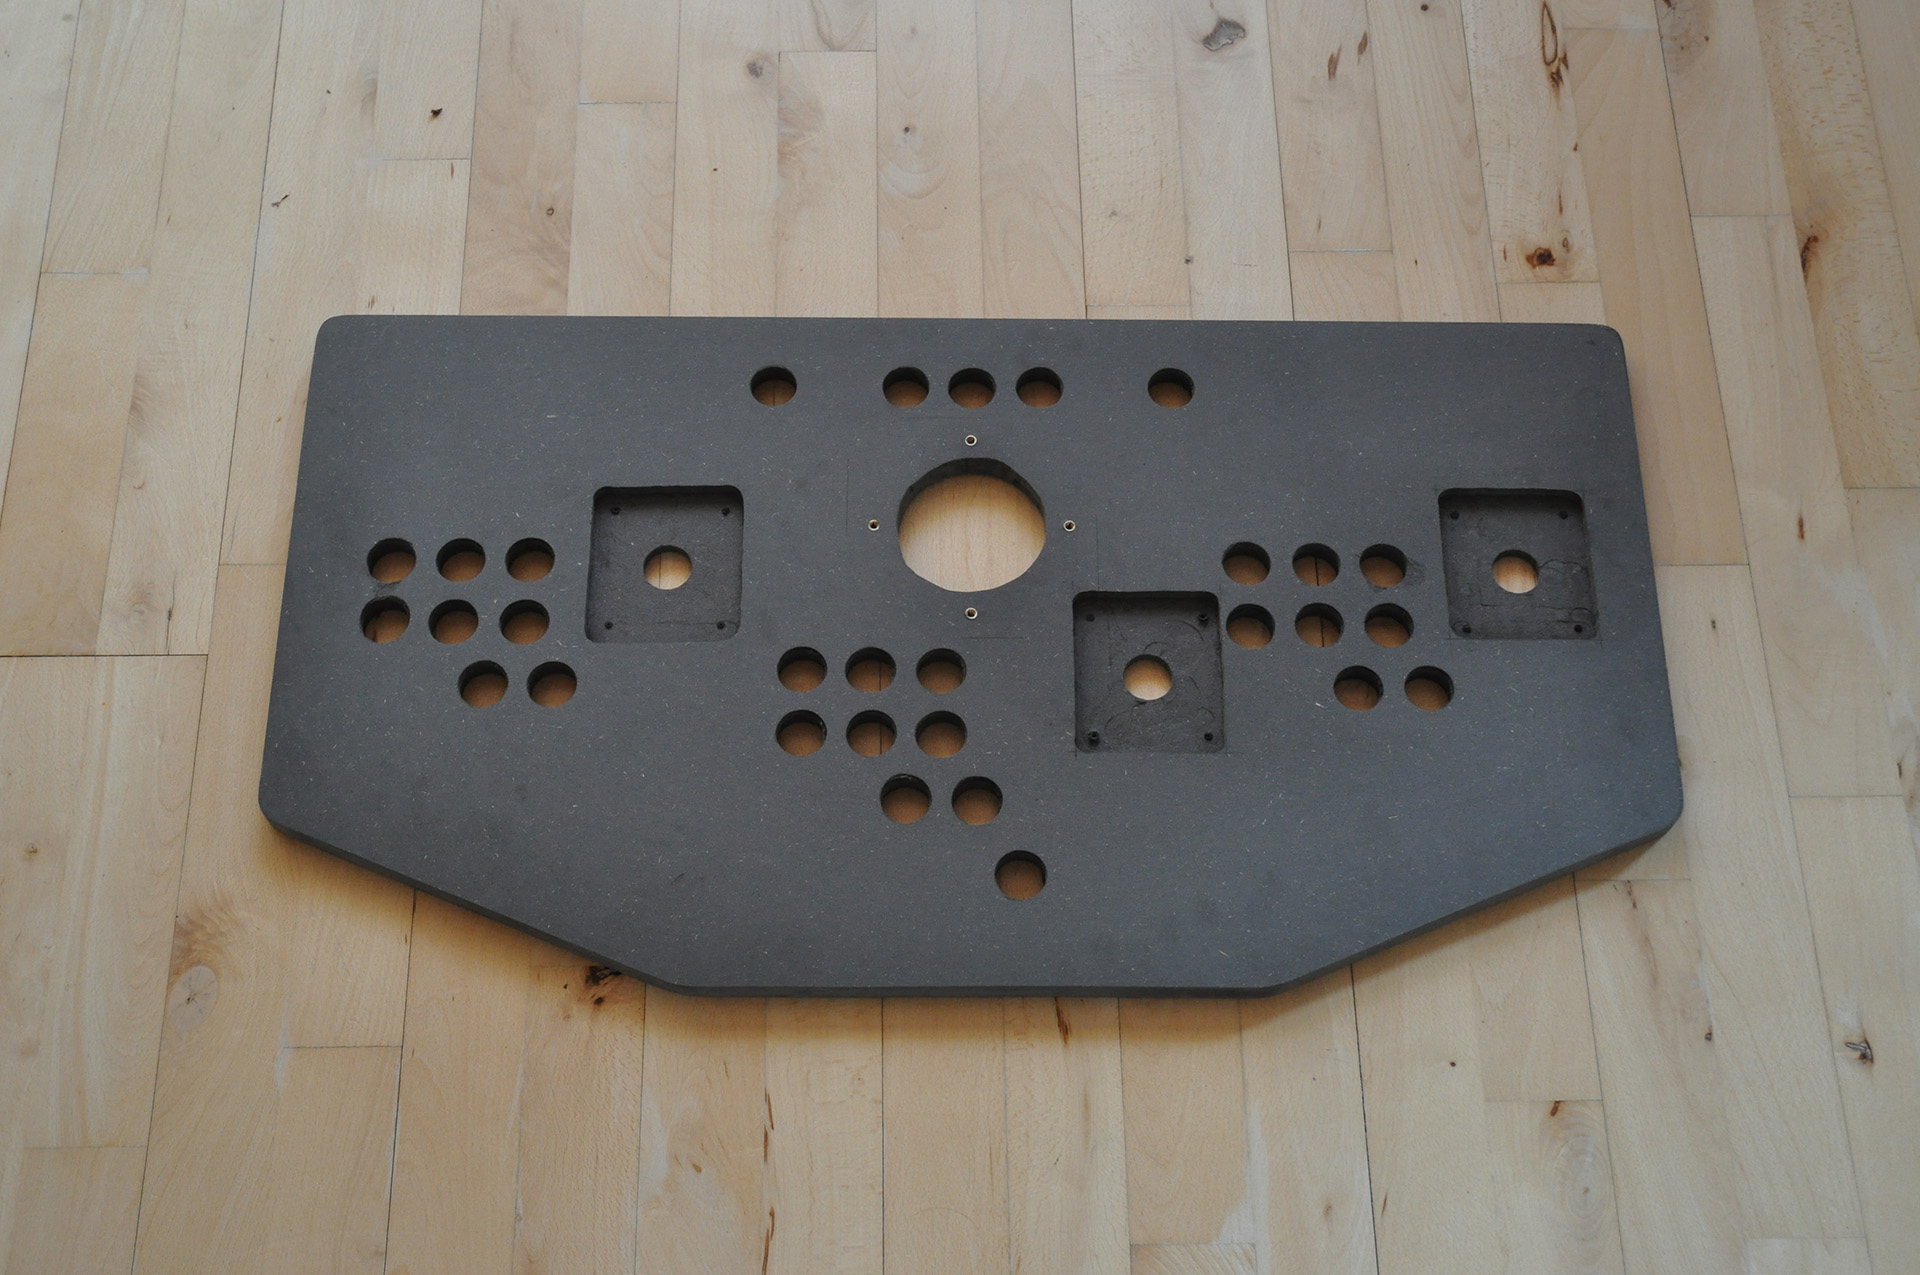 Above: I’ve finished routing the inserts for the stick bases and inserted the mouting threads for the trackball in the middle. Use proper breathing gear and goggles when routing MDF, kids. It’s quite toxic and will hurt your eyes and respiratory system.
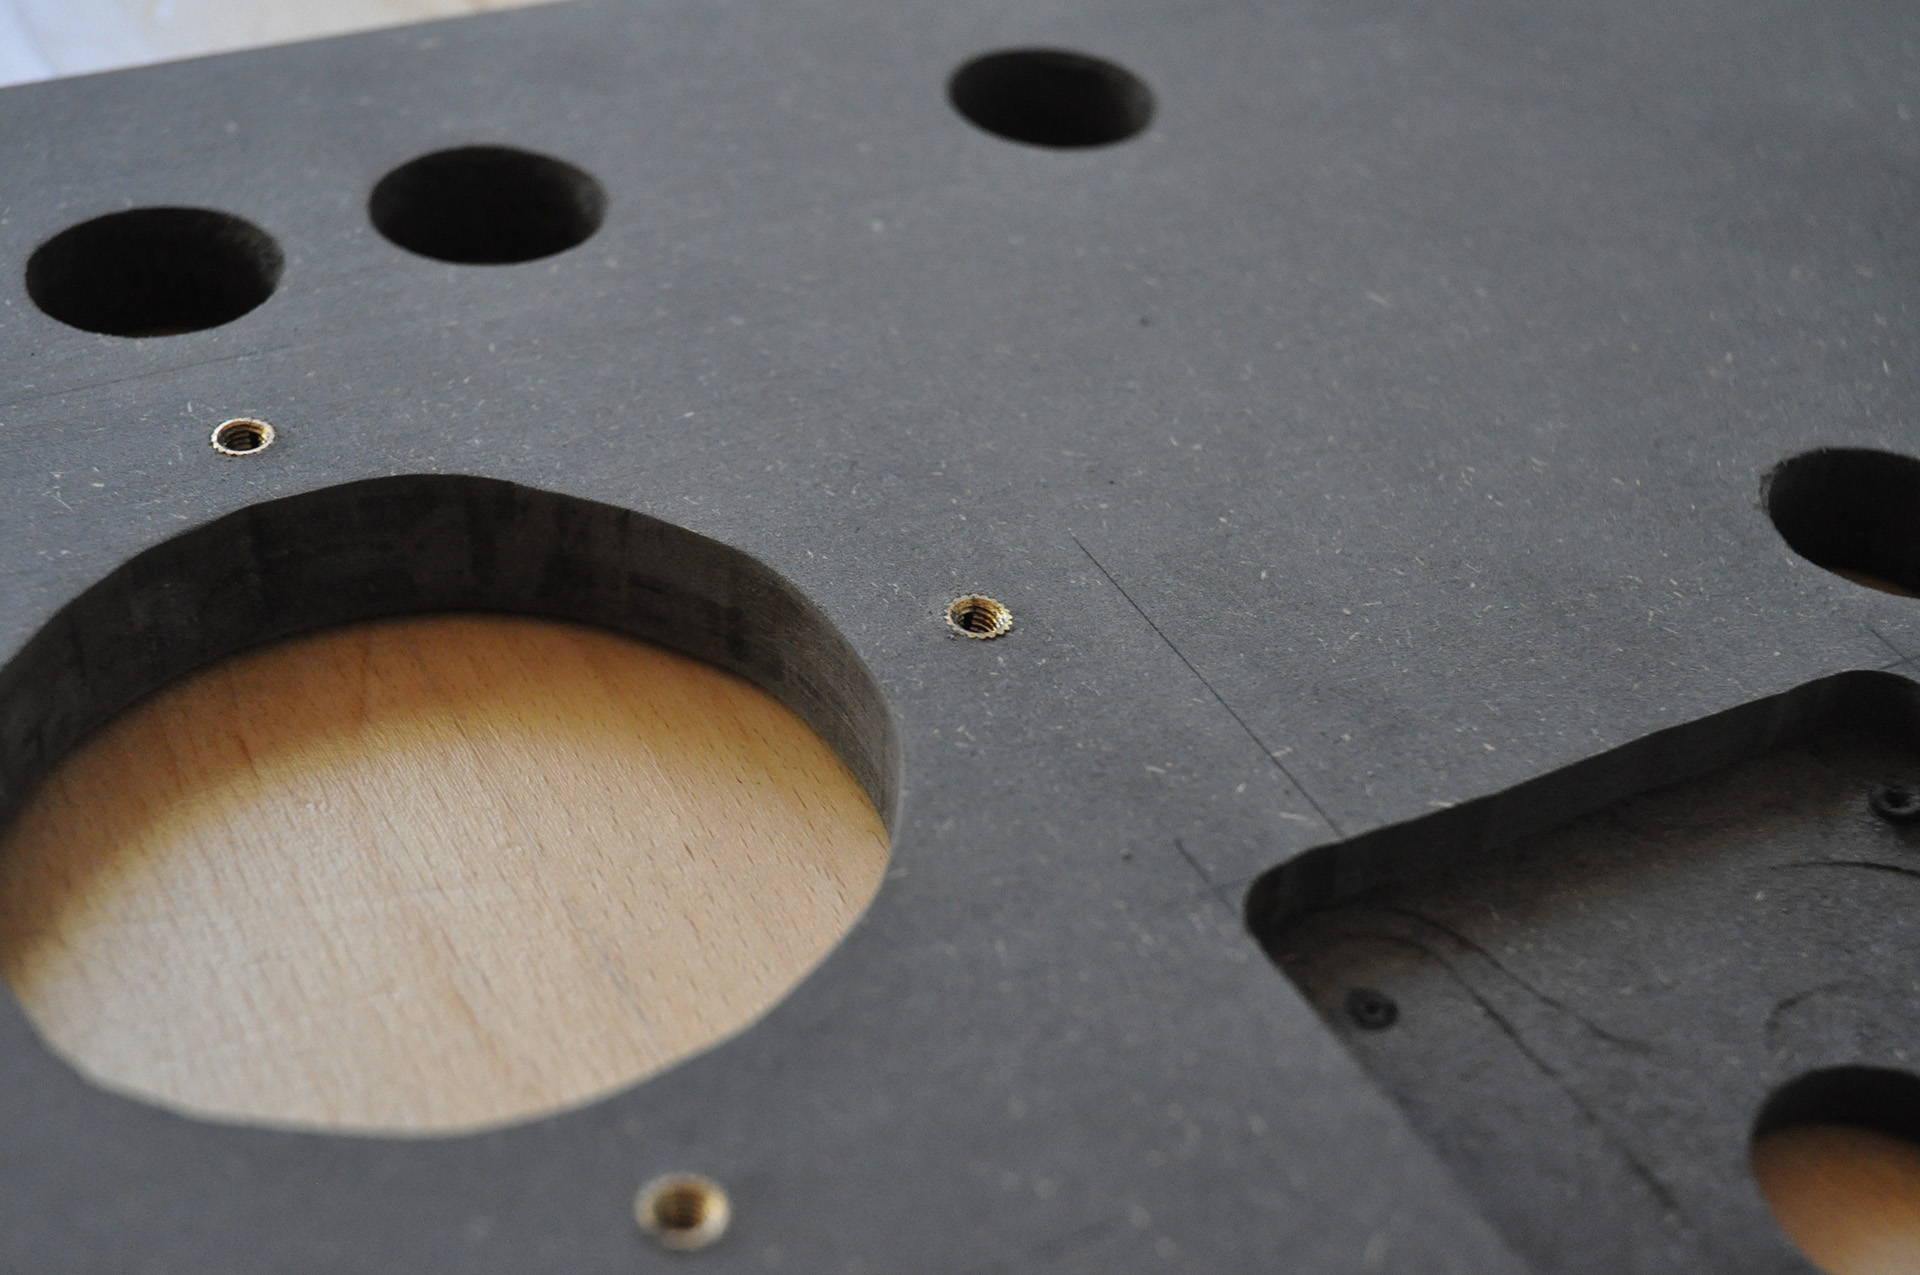 Above: Closeup of the mounting threads. These seem to be made from aluminum or a similarly brittle metal, so I actually managed to snap a few during insertion.
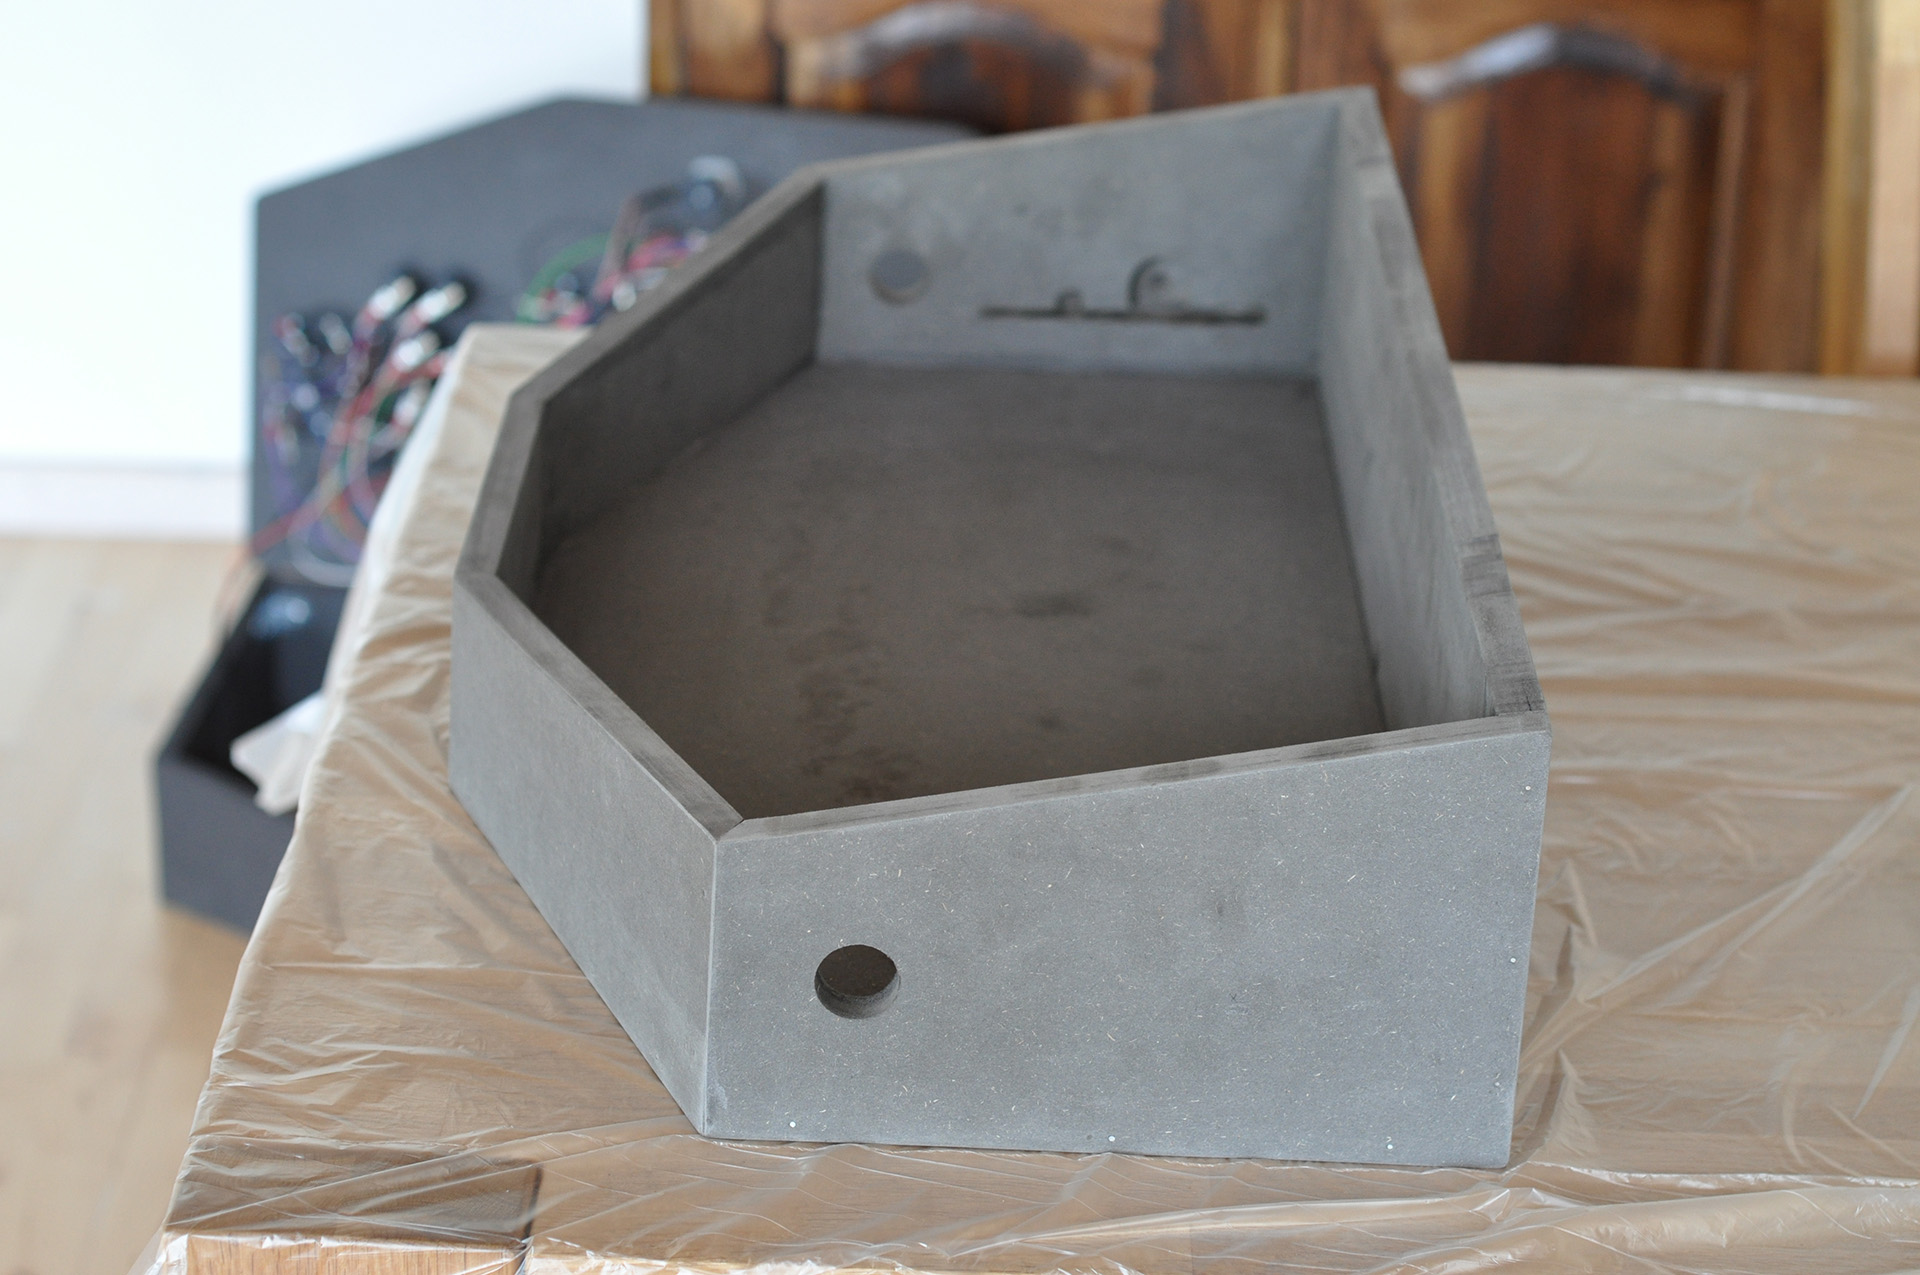 Above: The rest of the control panel base enclosure has been cut, assembled and sanded. The oddly shaped grooves at the far back of the inside of the base are made to accomodate a PCB for volume control. It includes a mounted potentiometer and some analog audio I/O.
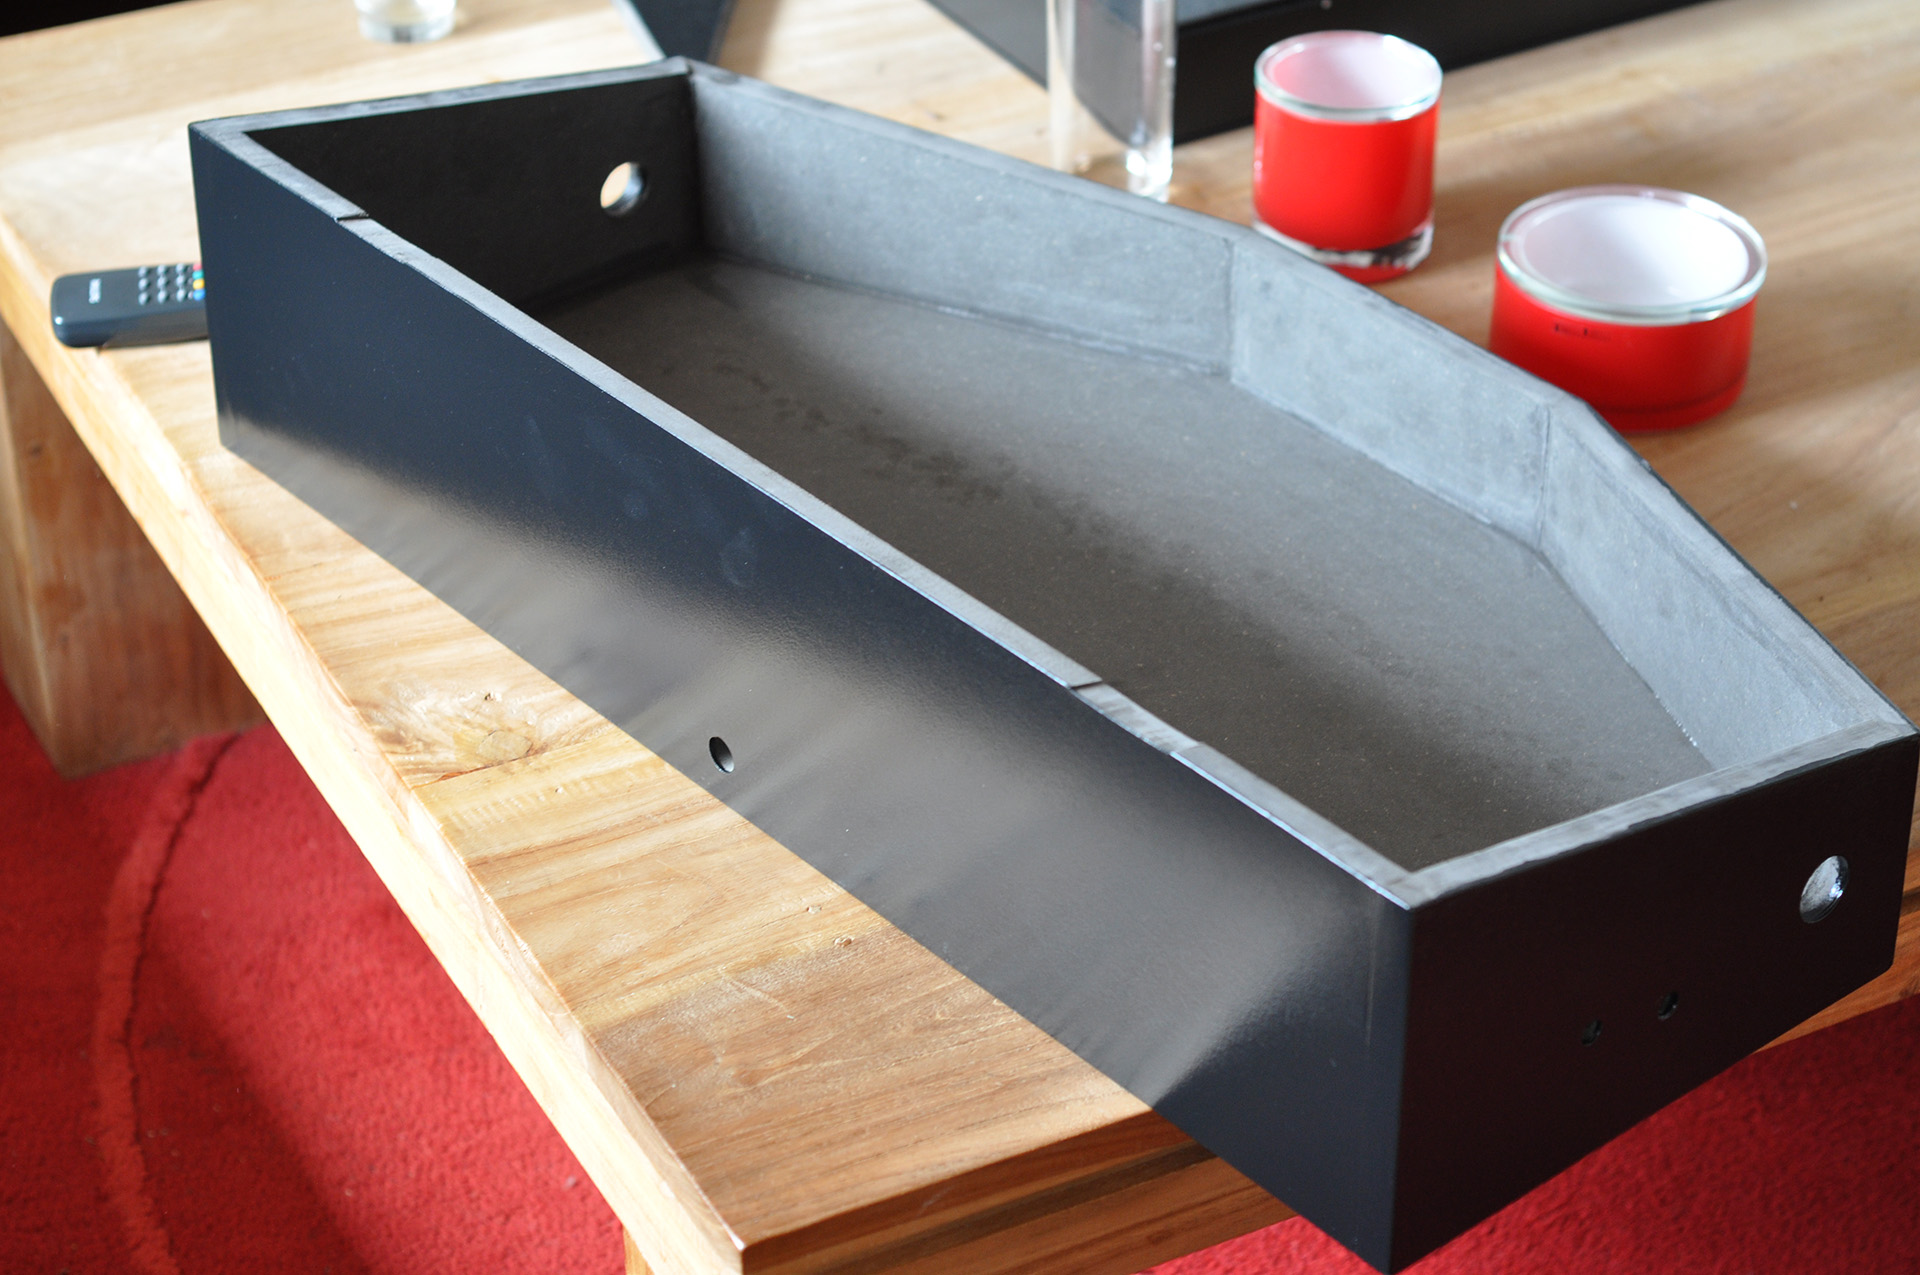 Above: The base enclosure has received its last coat of paint.
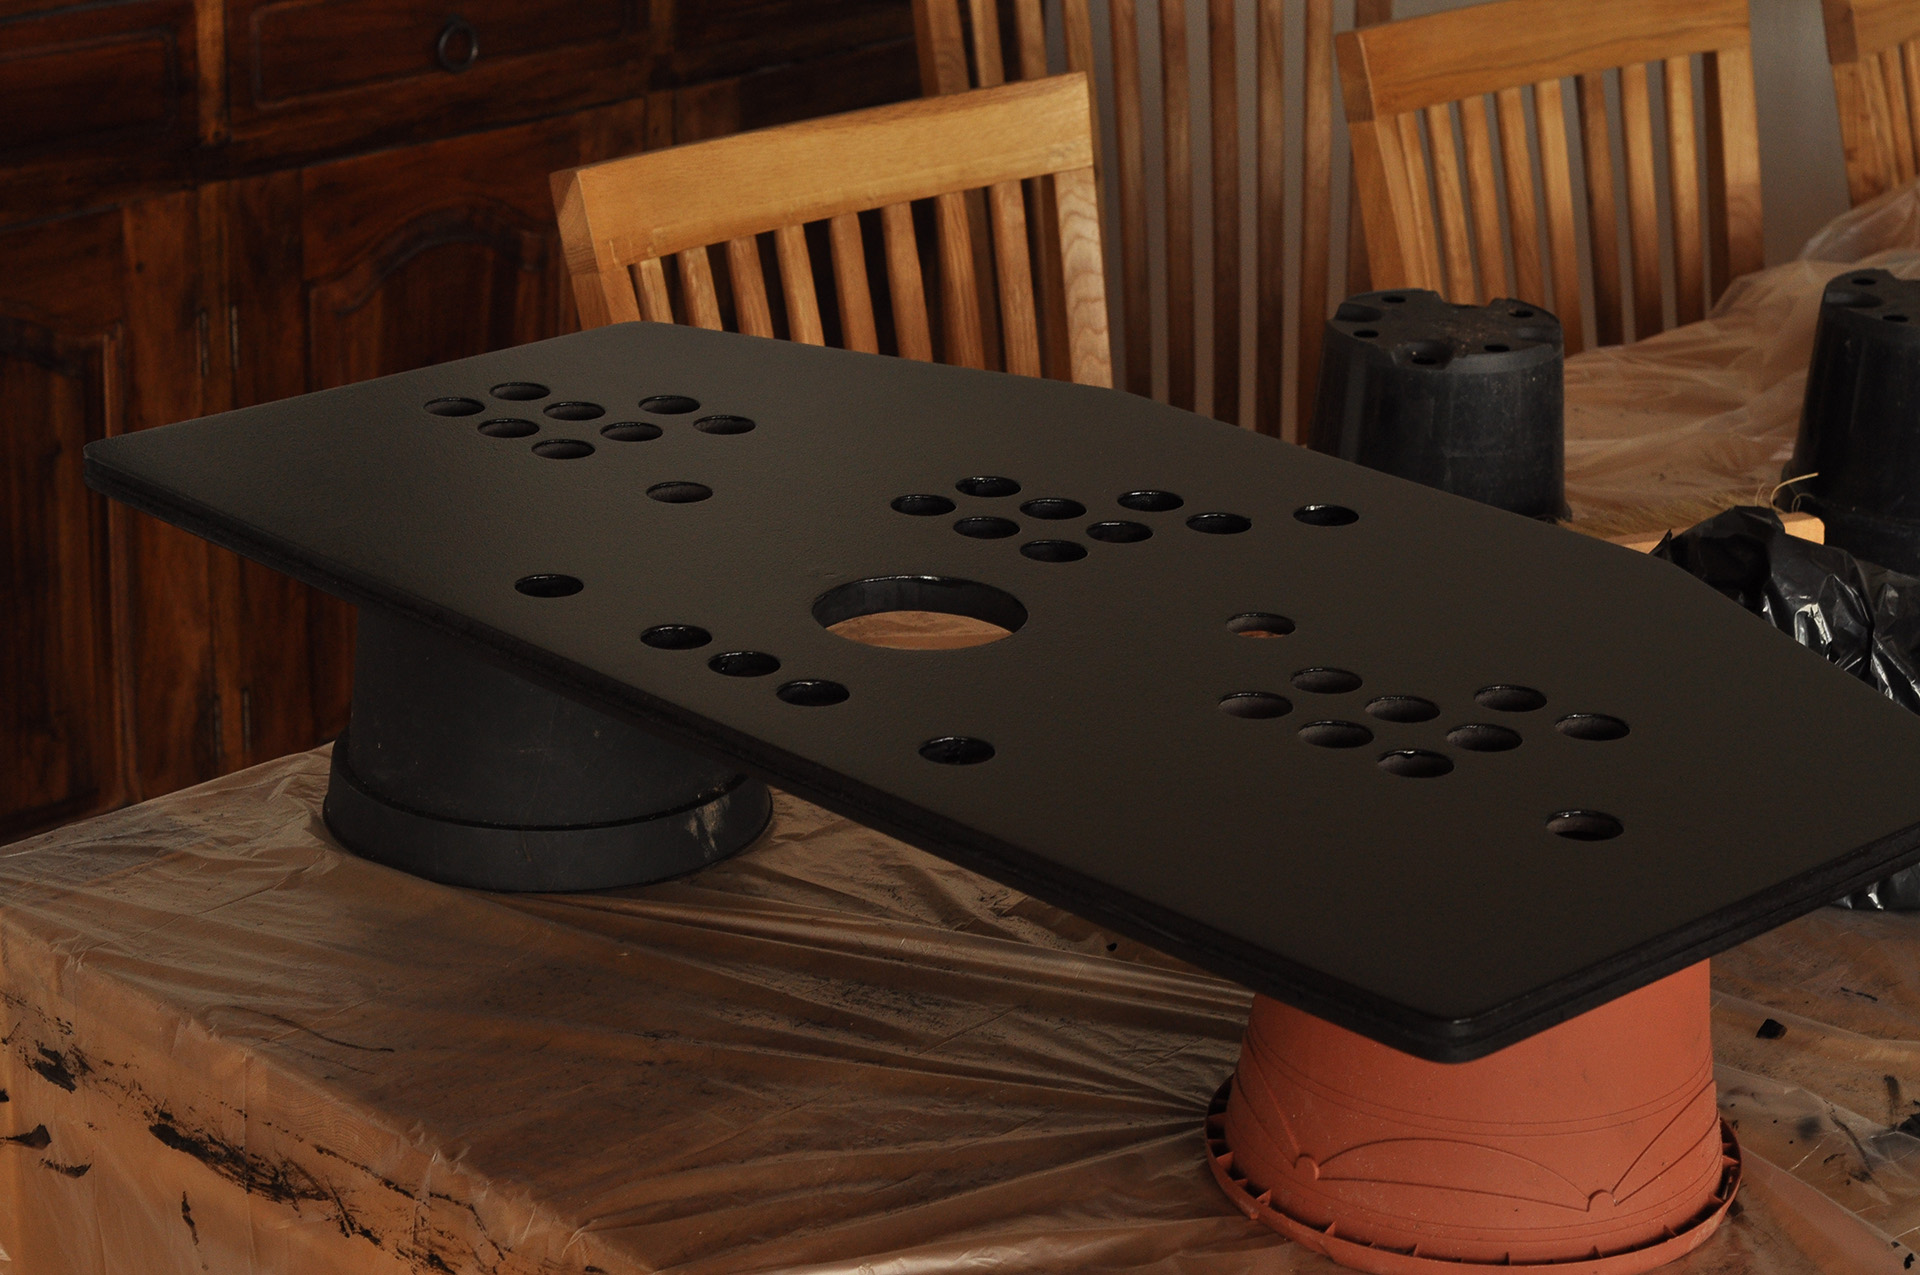 Above: The top panel is drying from its last coat of paint. You can just about make out that I’ve routed a deep groove into the edge around the entire panel. This is for the T-molding, which really makes all the difference if you want a professional-looking finish.
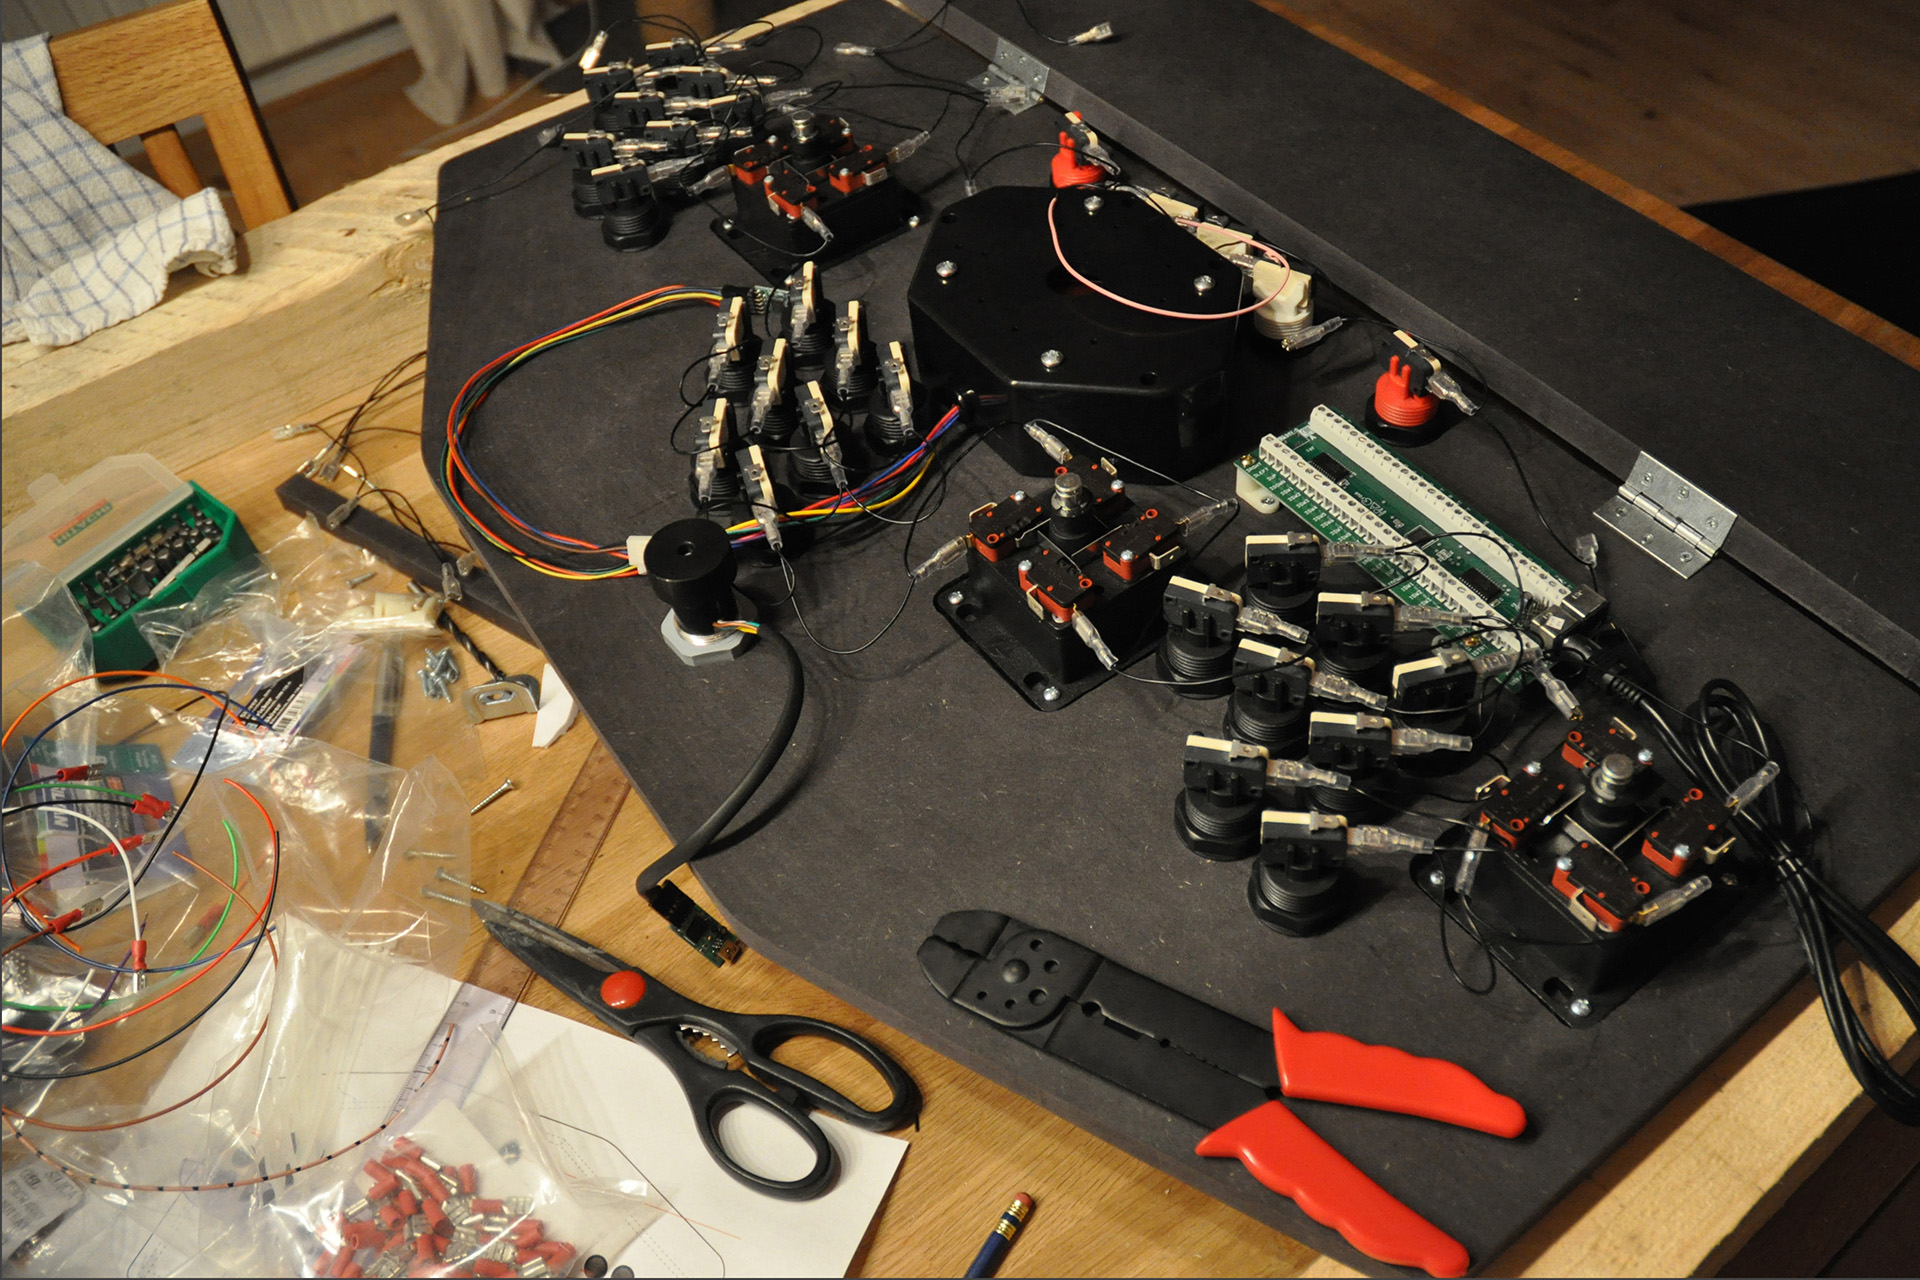 Above: All the 37 buttons, sticks and special controls have been mounted. Currently preparing the wiring by measuring, cutting, crimping and adding hot shoes to both ends of the almost 100 multi coloured leads involved in the controls.
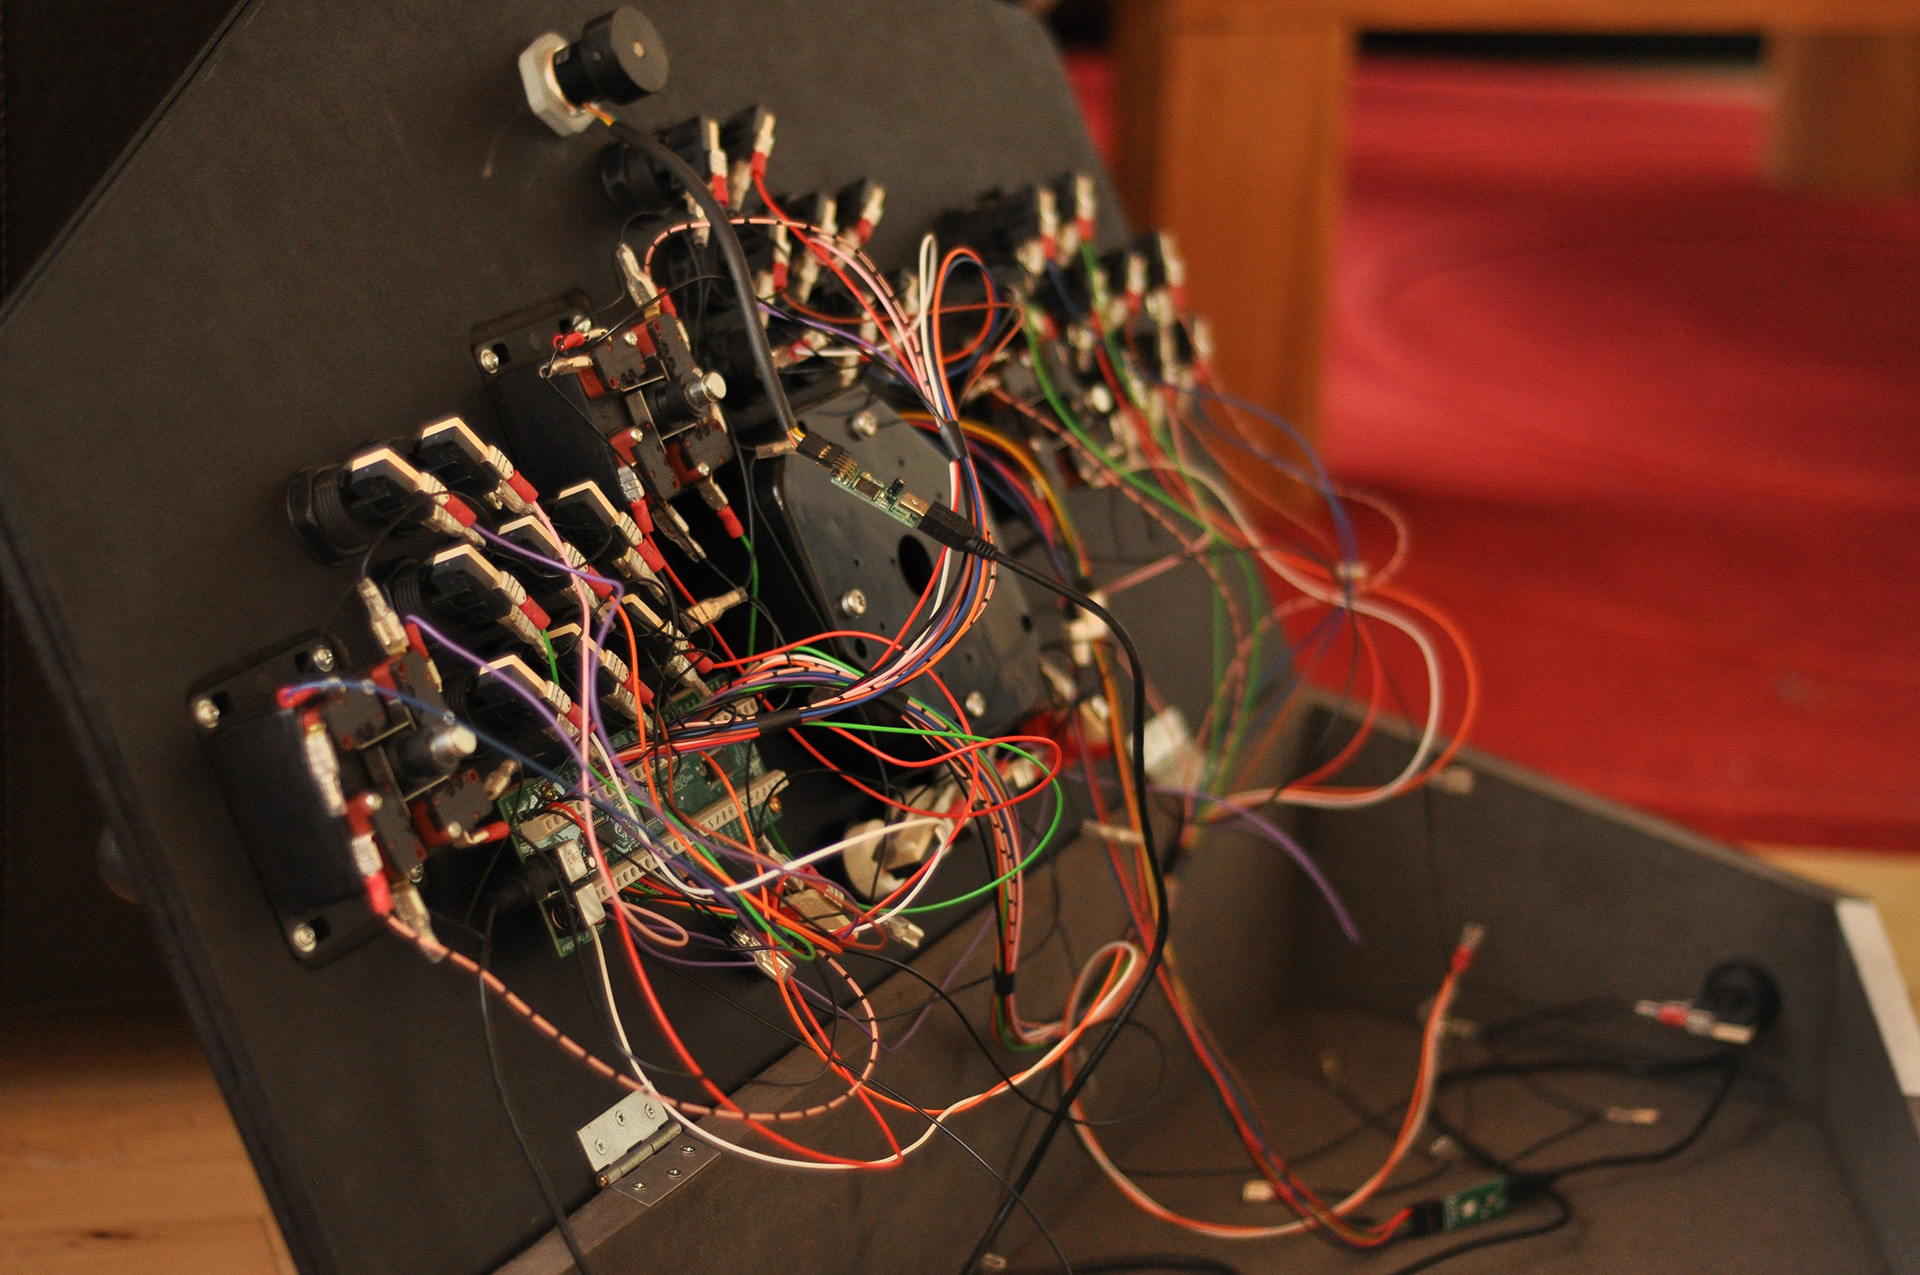 Above: Half the wiring is complete. Now all that’s left is to attach the daisychained ground wiring.
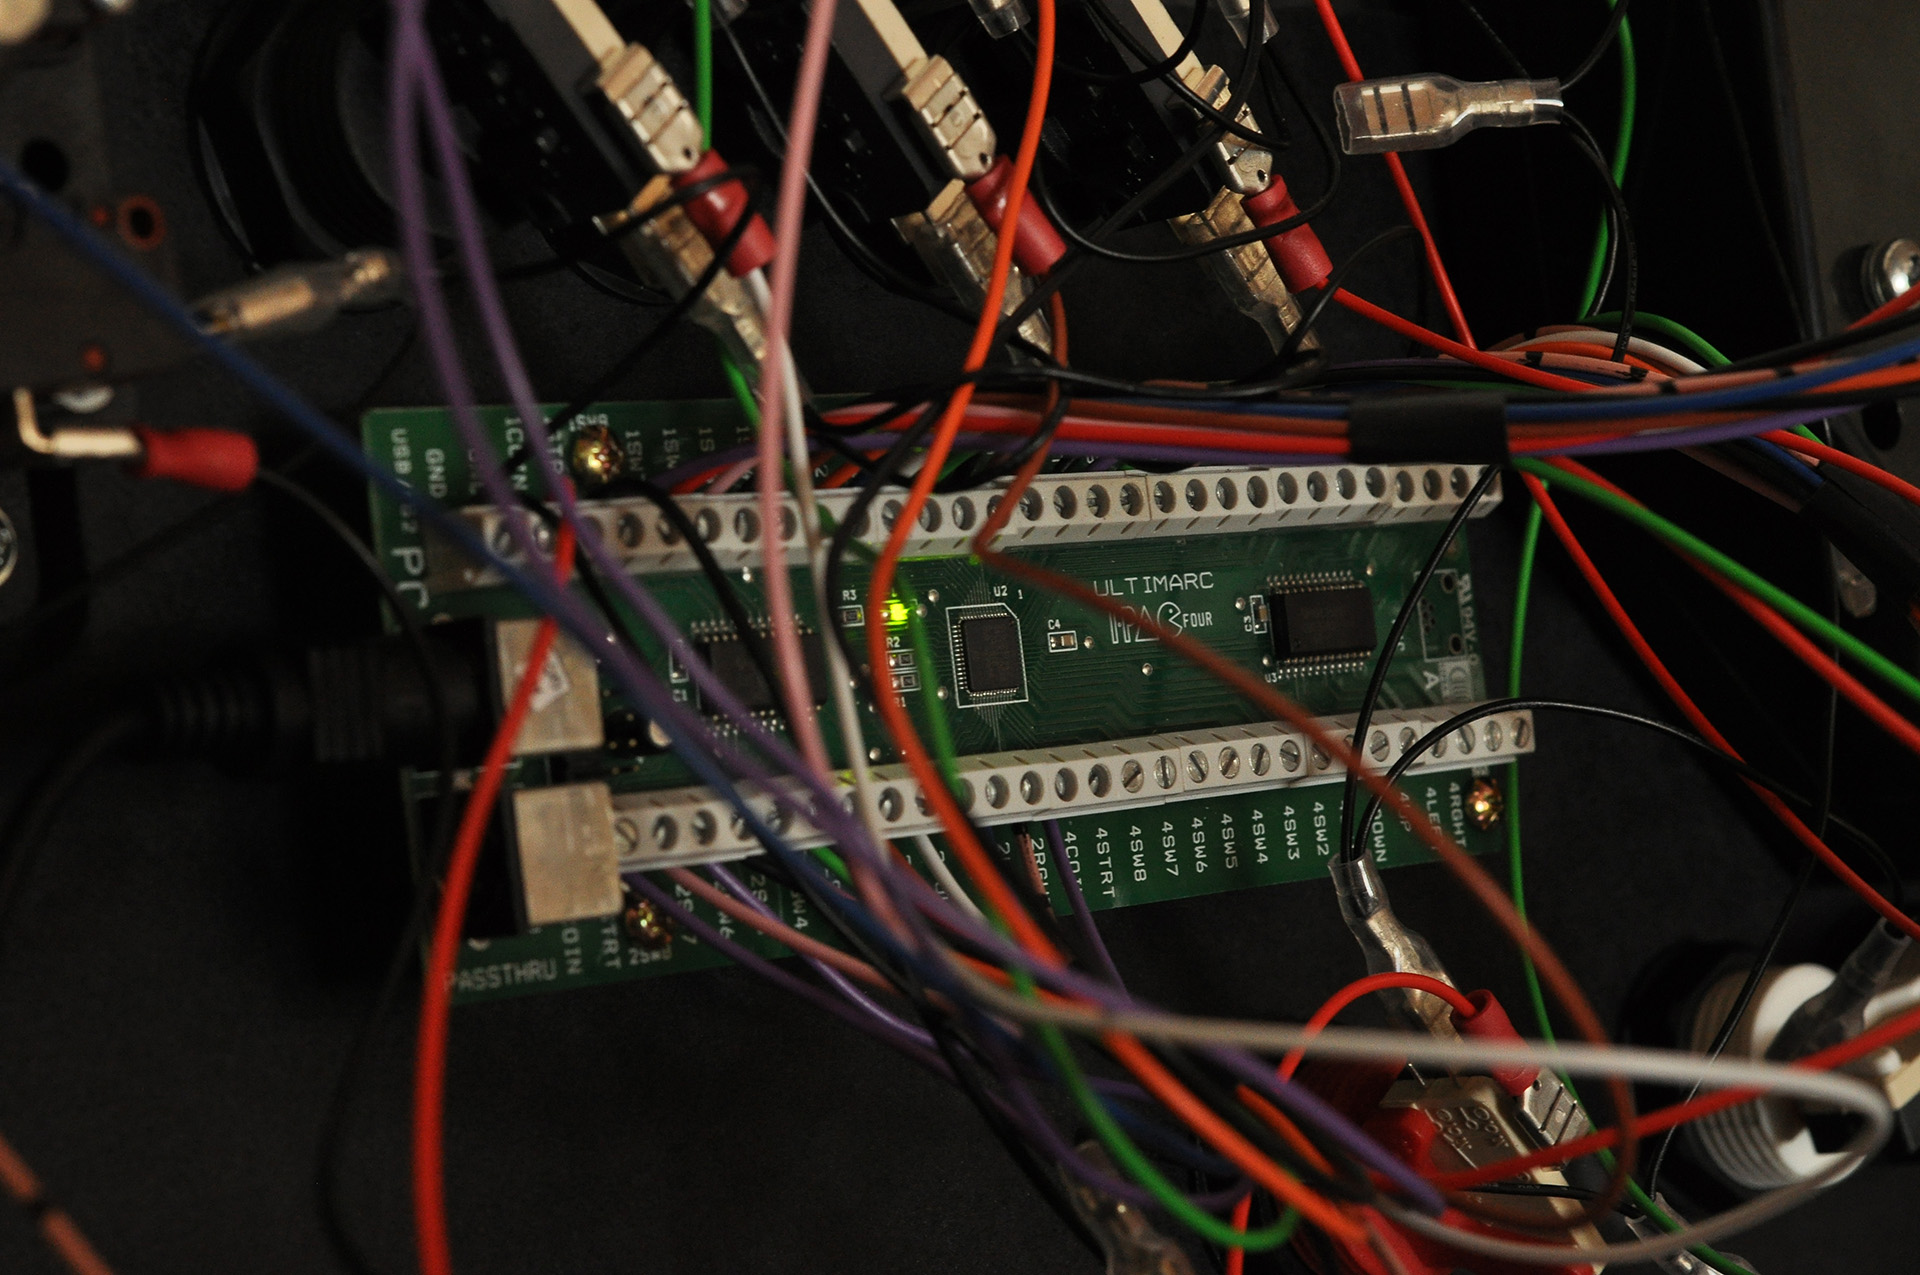 Above: Powering up the 56-input I-PAC 4 keyboard encoder board. The green light is on and it’s ready to go.
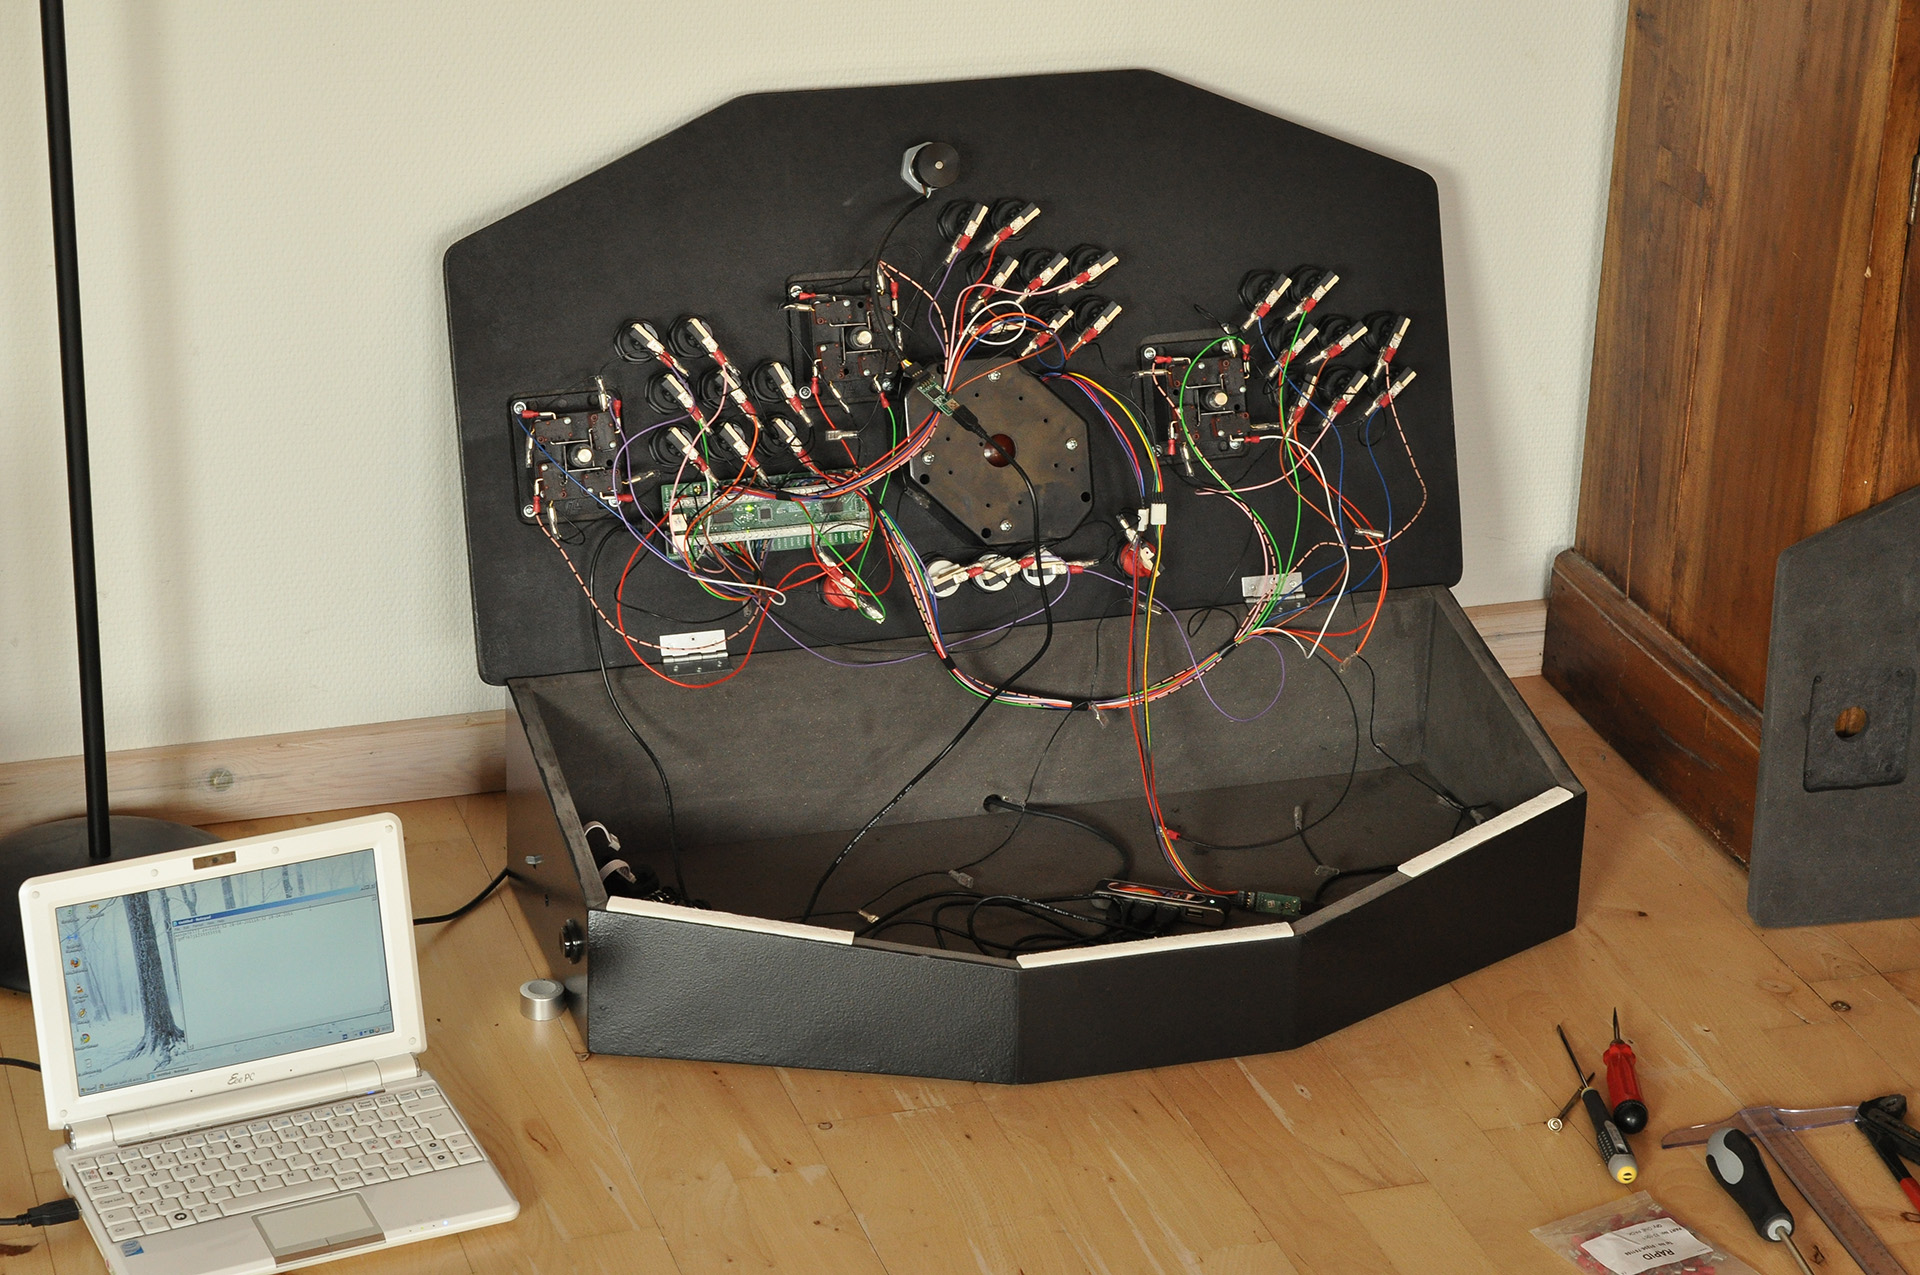 Above: Preliminary testing that I’m receiving feedback from every button and stick direction as well as jitter-free output from the spinner and trackball. I’m using Happ sticks and buttons in this build as I find them to be better allrounders than the twitchy, shoot/beat ’em up-focused Sanwa components.
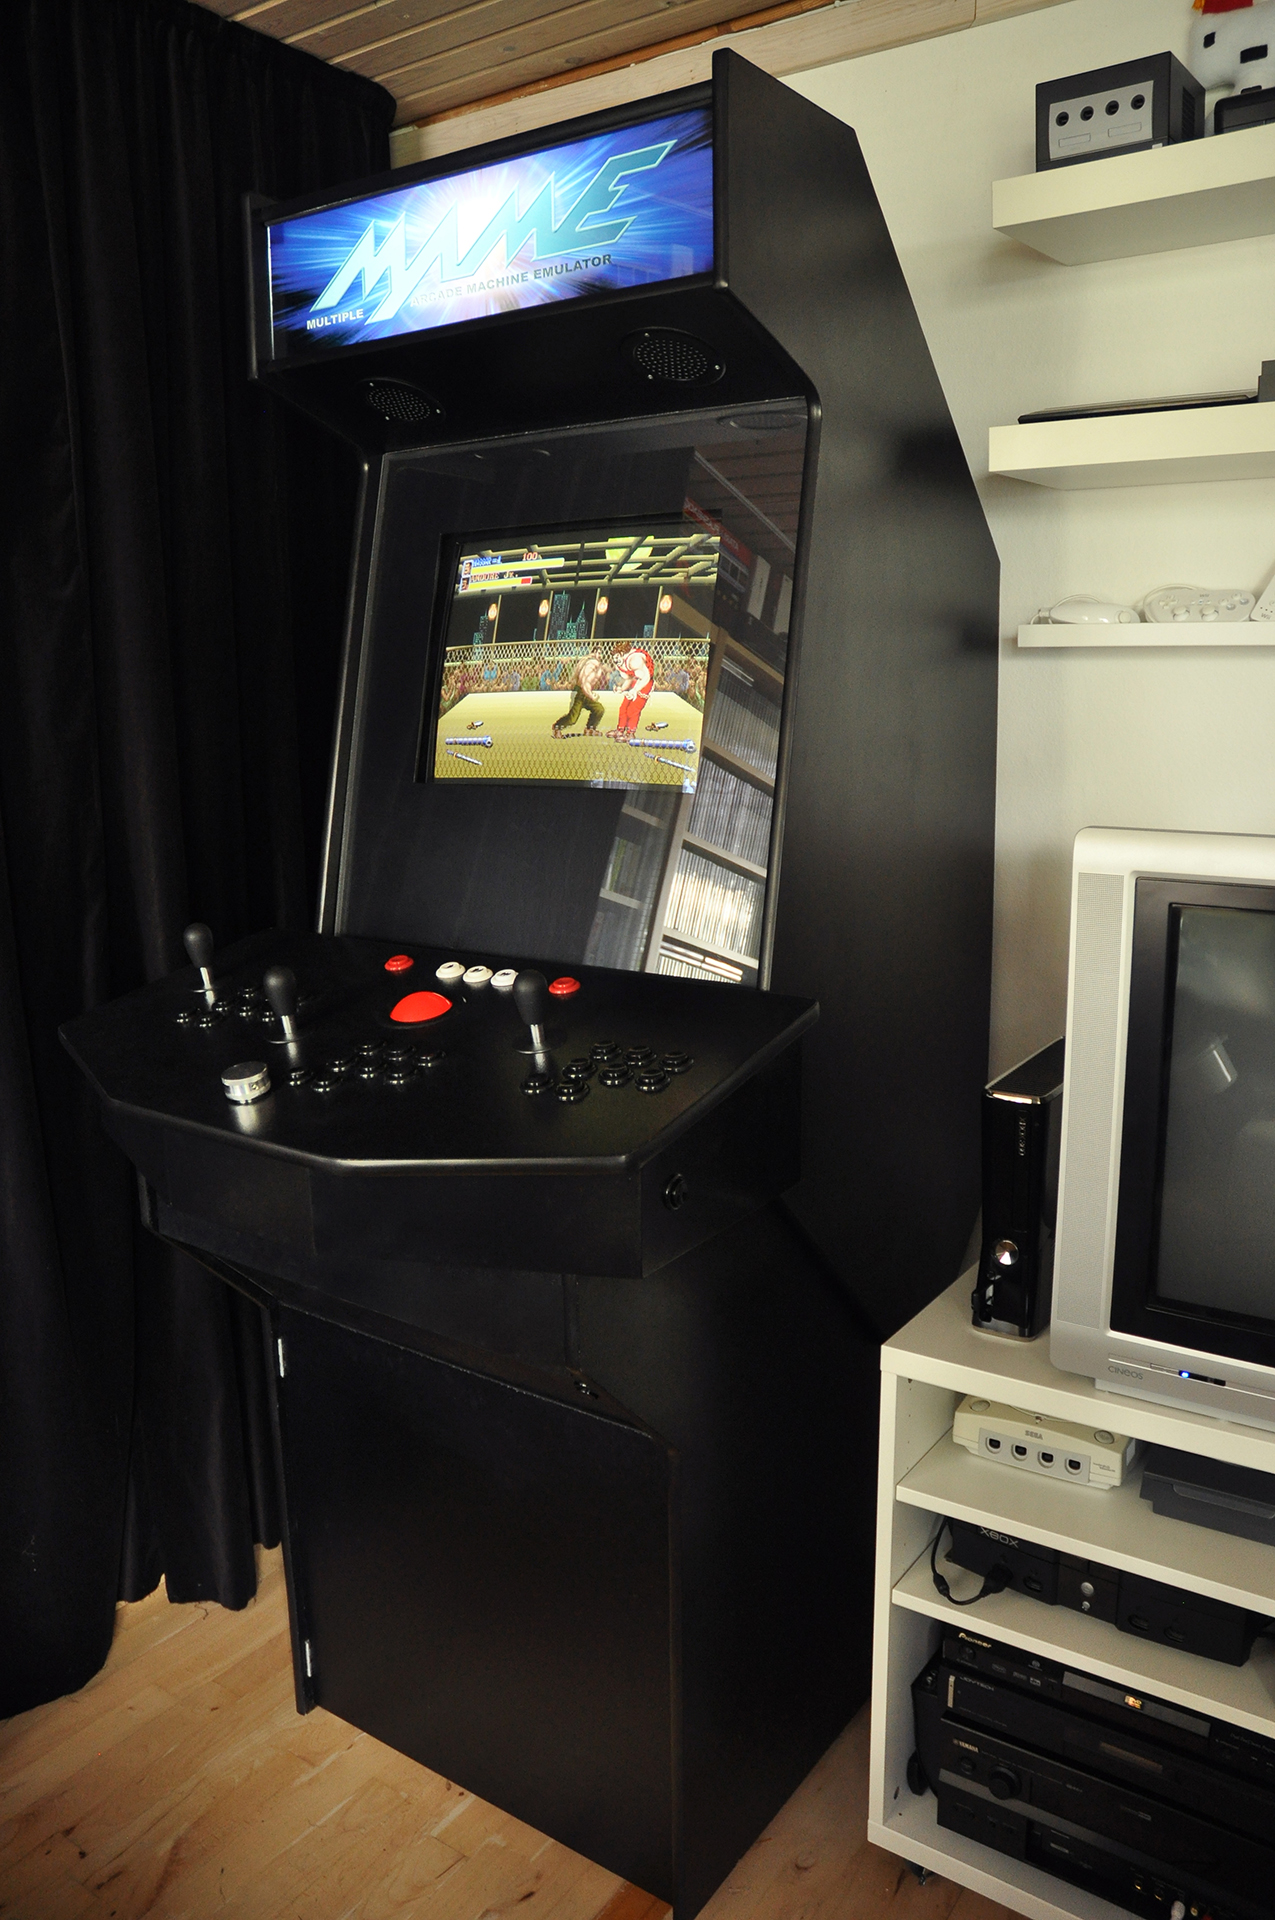 Above: Test succesful. The control panel has now been mounted onto the arcade cabinet and I’ve fired up a game of Final Fight to celebrate.
 Above: Close-up of the finished panel. The glowing, red light from the trackball really is a sight to behold.