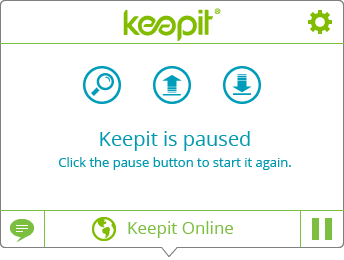
In order for Keepit to be able to back up any device or service imaginable, we’ve developed a number of so-called “connectors” – small agents either installed directly on a device or running serverside and connecting to cloud services via their APIs. Connectors exist for PC, Mac and Linux distros, FTP servers, Exchange, Office 365 and many more are in the works.
I lead the design efforts on many of these. Below is an example of the Keepit Desktop Connector for PC. The connectors are designed to be set-and-forget, requiring almost no effort to install and set up.
I am aware the visuals aren’t exactly breathtaking, but they’re adhering to an old corporate style guide aimed at enterprise customers. A style guide which I’m still in the process of supplanting.
Installation and setup
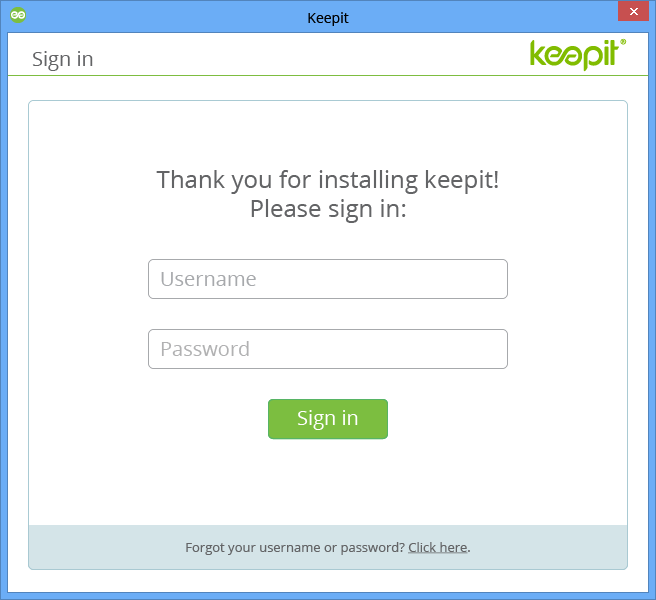
Above: After having signed up on Keepit’s website and running the installer, the user is greeted with the login screen.
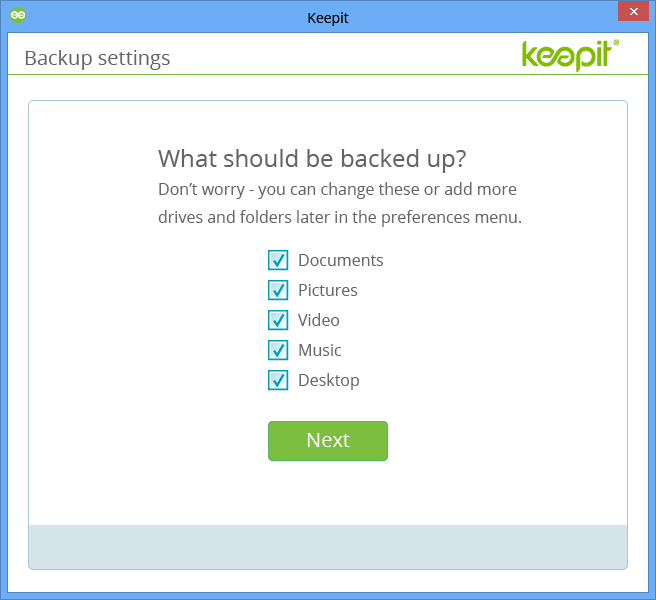
Above: Having logged in, the user can select file types to back up. As a default Keepit will back up anything stored on the device.
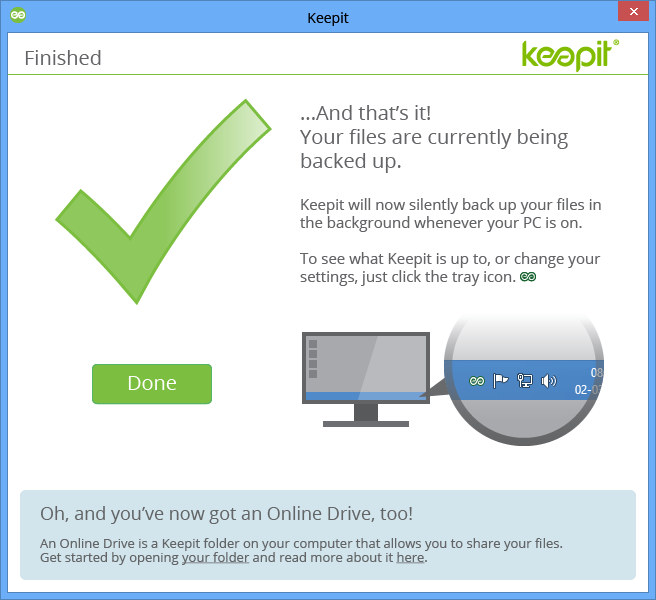
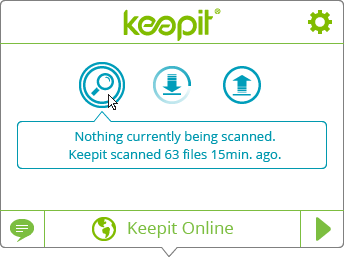
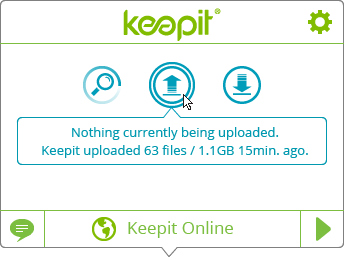
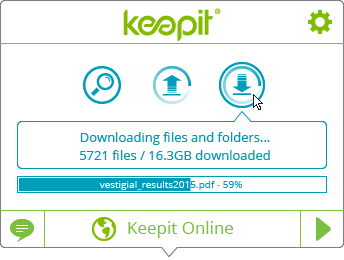
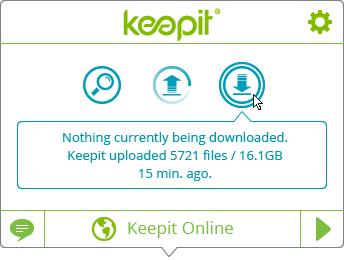
Above: That’s it. The setup process is complete. The service will be running in the background and status can be viewed via the Tray icon if the user so desires.
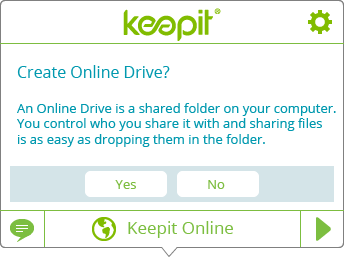
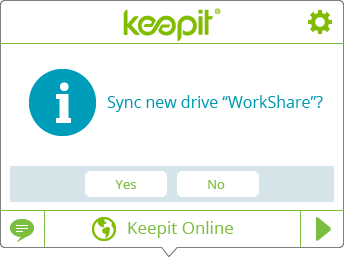
An online drive has also been created to make it easy for users to share files with others. Anything dropped in that folder on the desktop will get shared with whomever the user wishes and for with whatever conditions or time limits the user chooses to set.
Explorer context menu integration
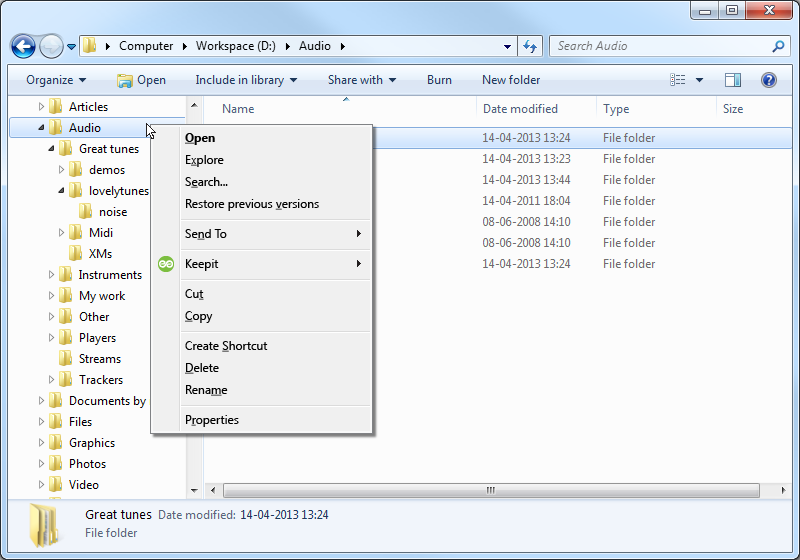
Above: Keepit is descreetly integrated into the contextual menus of Explorer to allow for easy access to many of the features of the service via the native interface.
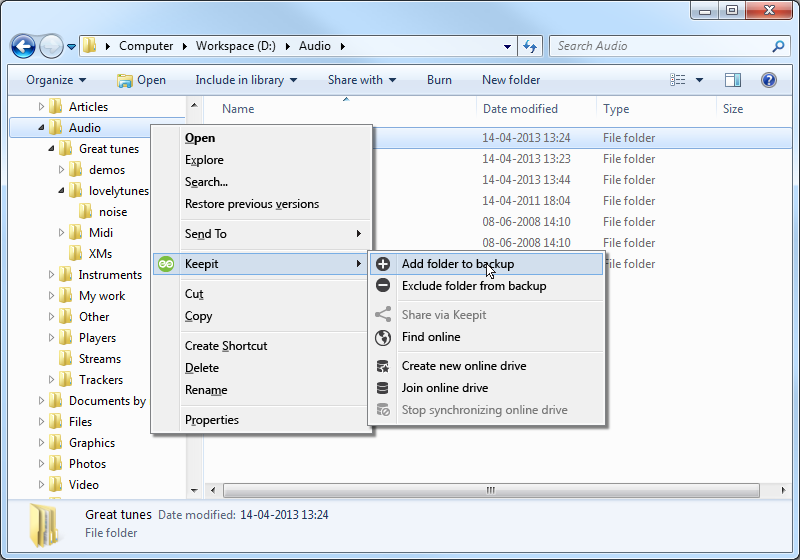
Above: A number of operations pertaining to Keepit can be reached through the context menu. Find online sends the user directly to the web UI serarch interface where they’ll be able to search their files across any of their Keepit-connected physical devices or cloud services.
Preferences
Users seeking more control over Keepit are able to click the cog-icon to enter the preferences section. Preferences are not available to Enterprise users as they are centrally controlled by policies from the administrator.
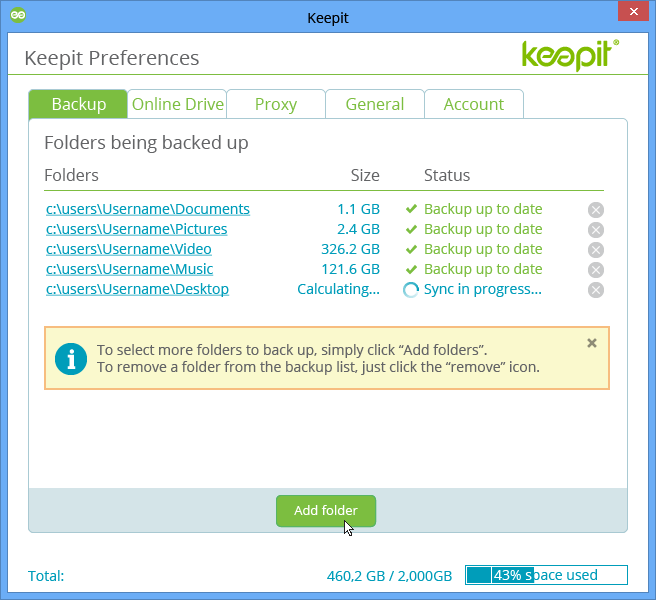 Above: The user clicks to manually add a folder.
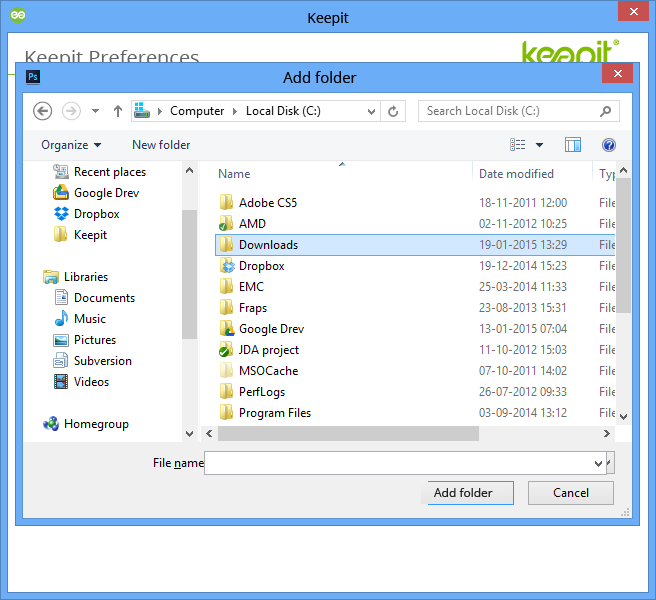 Above: Selecting a folder.
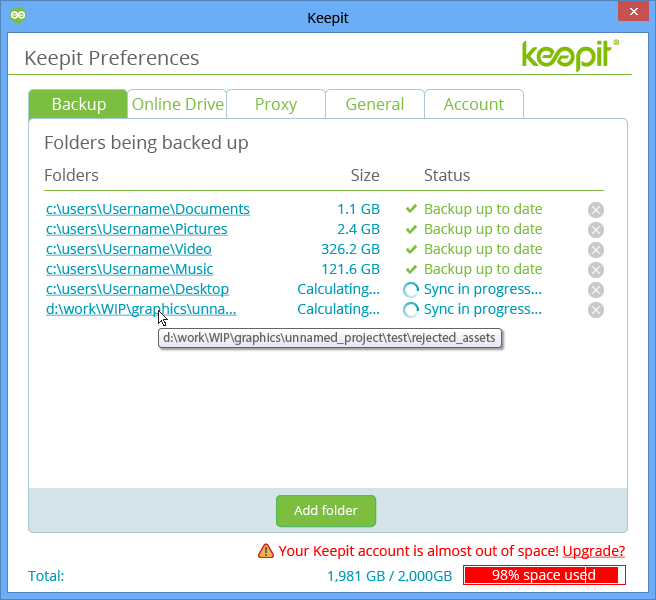 Above: The user has added a folder to the backup and data size is being calculated.
As the user exceeds her maximum alotted space, a soft-limit is imposed, giving the user a couple of days to reduce the amount of data. After this, the account will be limited to downloading and deleting only until the user either upgrades her account or reduces her data amount beneath the threshold.
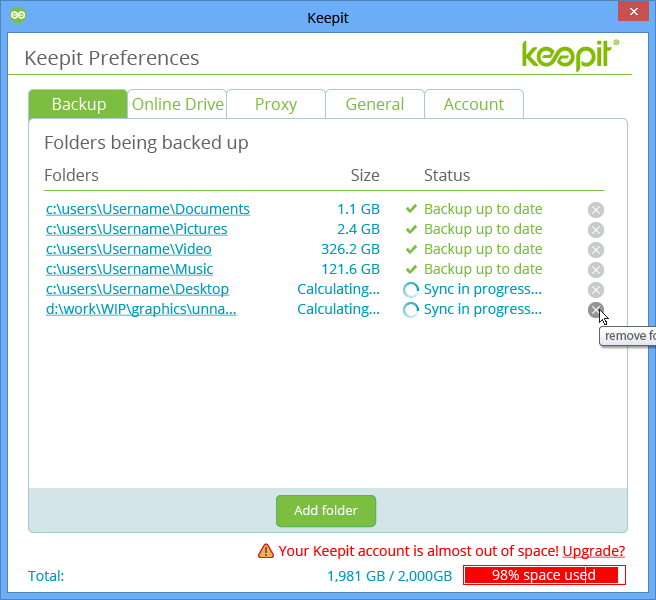 Above: Removing a folder from backup.
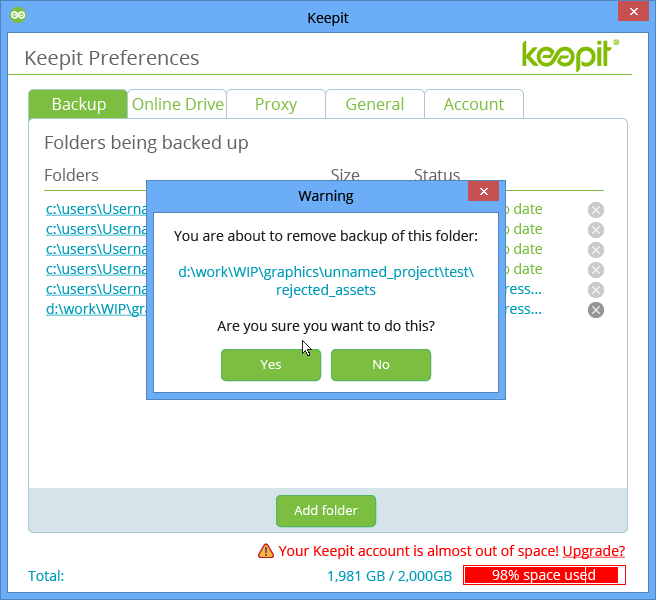 Above: Removal confirmation.
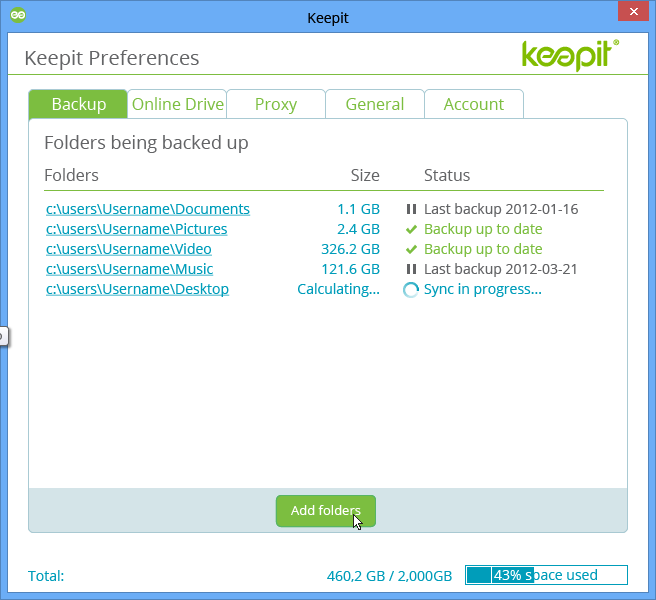 Above: Devices currently not being backed up show up as paused and will issue an alert via email, the web interface and their respective connectors (where possible) when too much time has passed since the last proper backup.
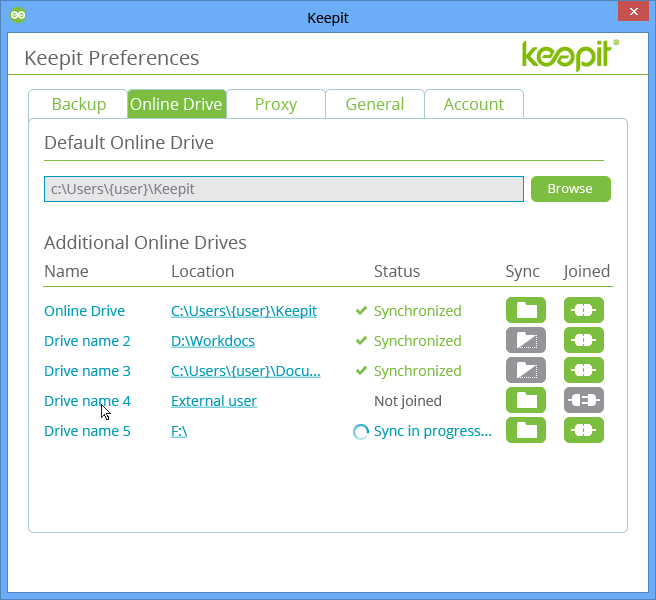 Above: From the Online Drive tab the user is able to create and manage both her own online drives and online drives which are being shared with her. The sync icons denote full or partial synchronization of files. Clicking one of them allows the user to select or deselect files or folders for synchronization.
General tab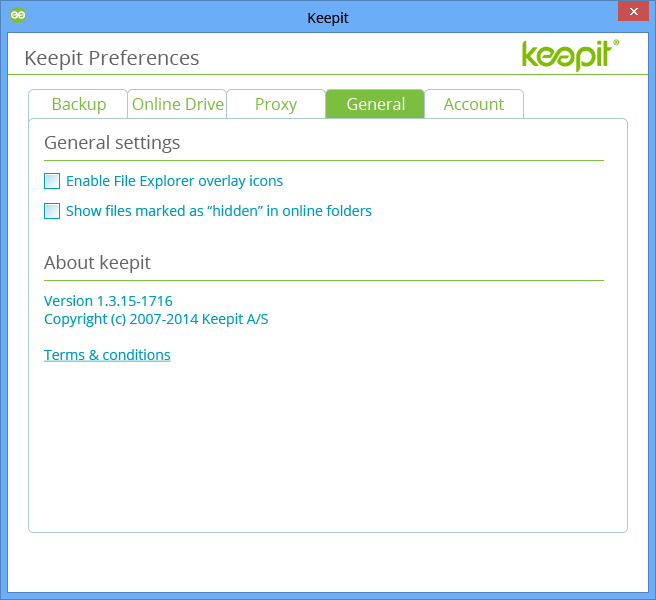
Tray status